How to Set up CloudFlare Tunnels in 2025
Introduction
A Cloudflare Tunnel is a technology that establishes a secure, outbound-only connection between your home network and the Cloudflare global network. It essentially creates a "tunnel" that allows you to expose your services running on your home network to the internet, without requiring you to open ports or configure complex firewall rules. This can be particularly useful for homelabs, as it allows you to easily access your self-hosted services from anywhere in the world.
It is assumed you create a dedicated VM for your CloudFlare Tunnel Install, or install it on an existing VM. We show the install on an existing VM, BUT recommend a dedicated VM
How to Create a CloudFlare Tunnel
First, go to CloudFlare’s website and log in (you can create an account with your Google account) here
If you do not have a domain associated with your account, go ahead and buy one now; they are about 11 dollars a year.
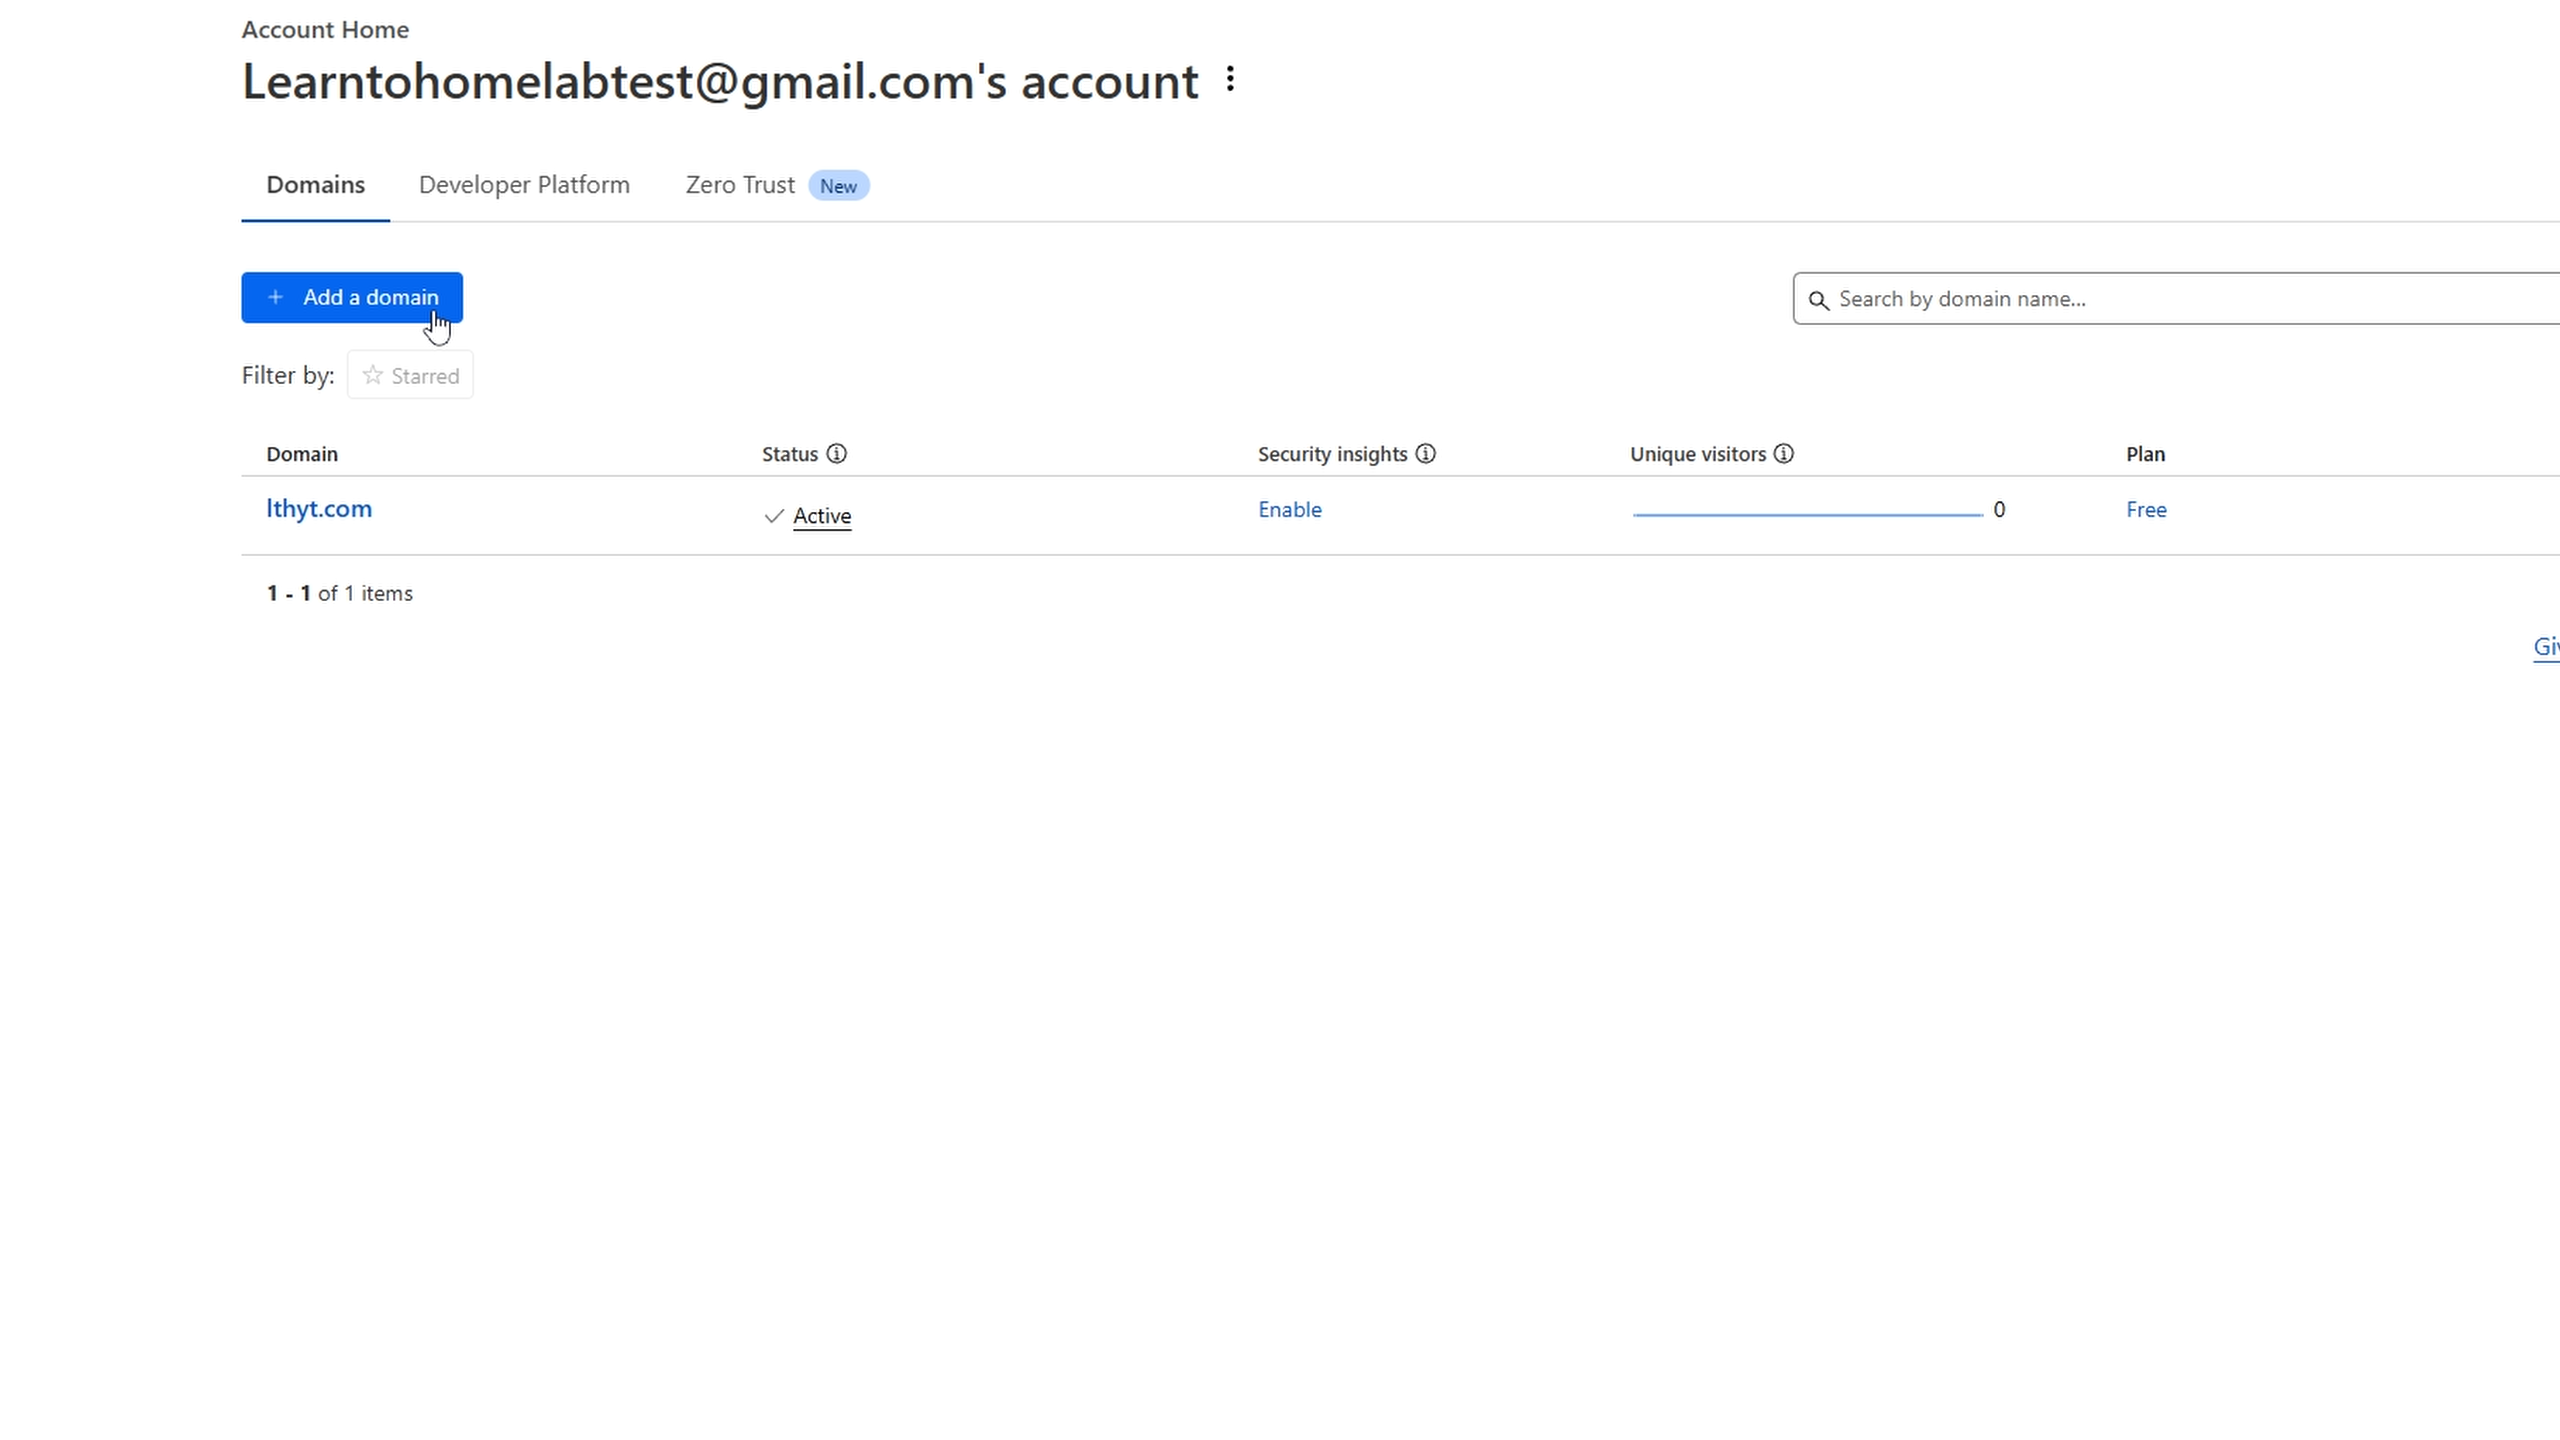
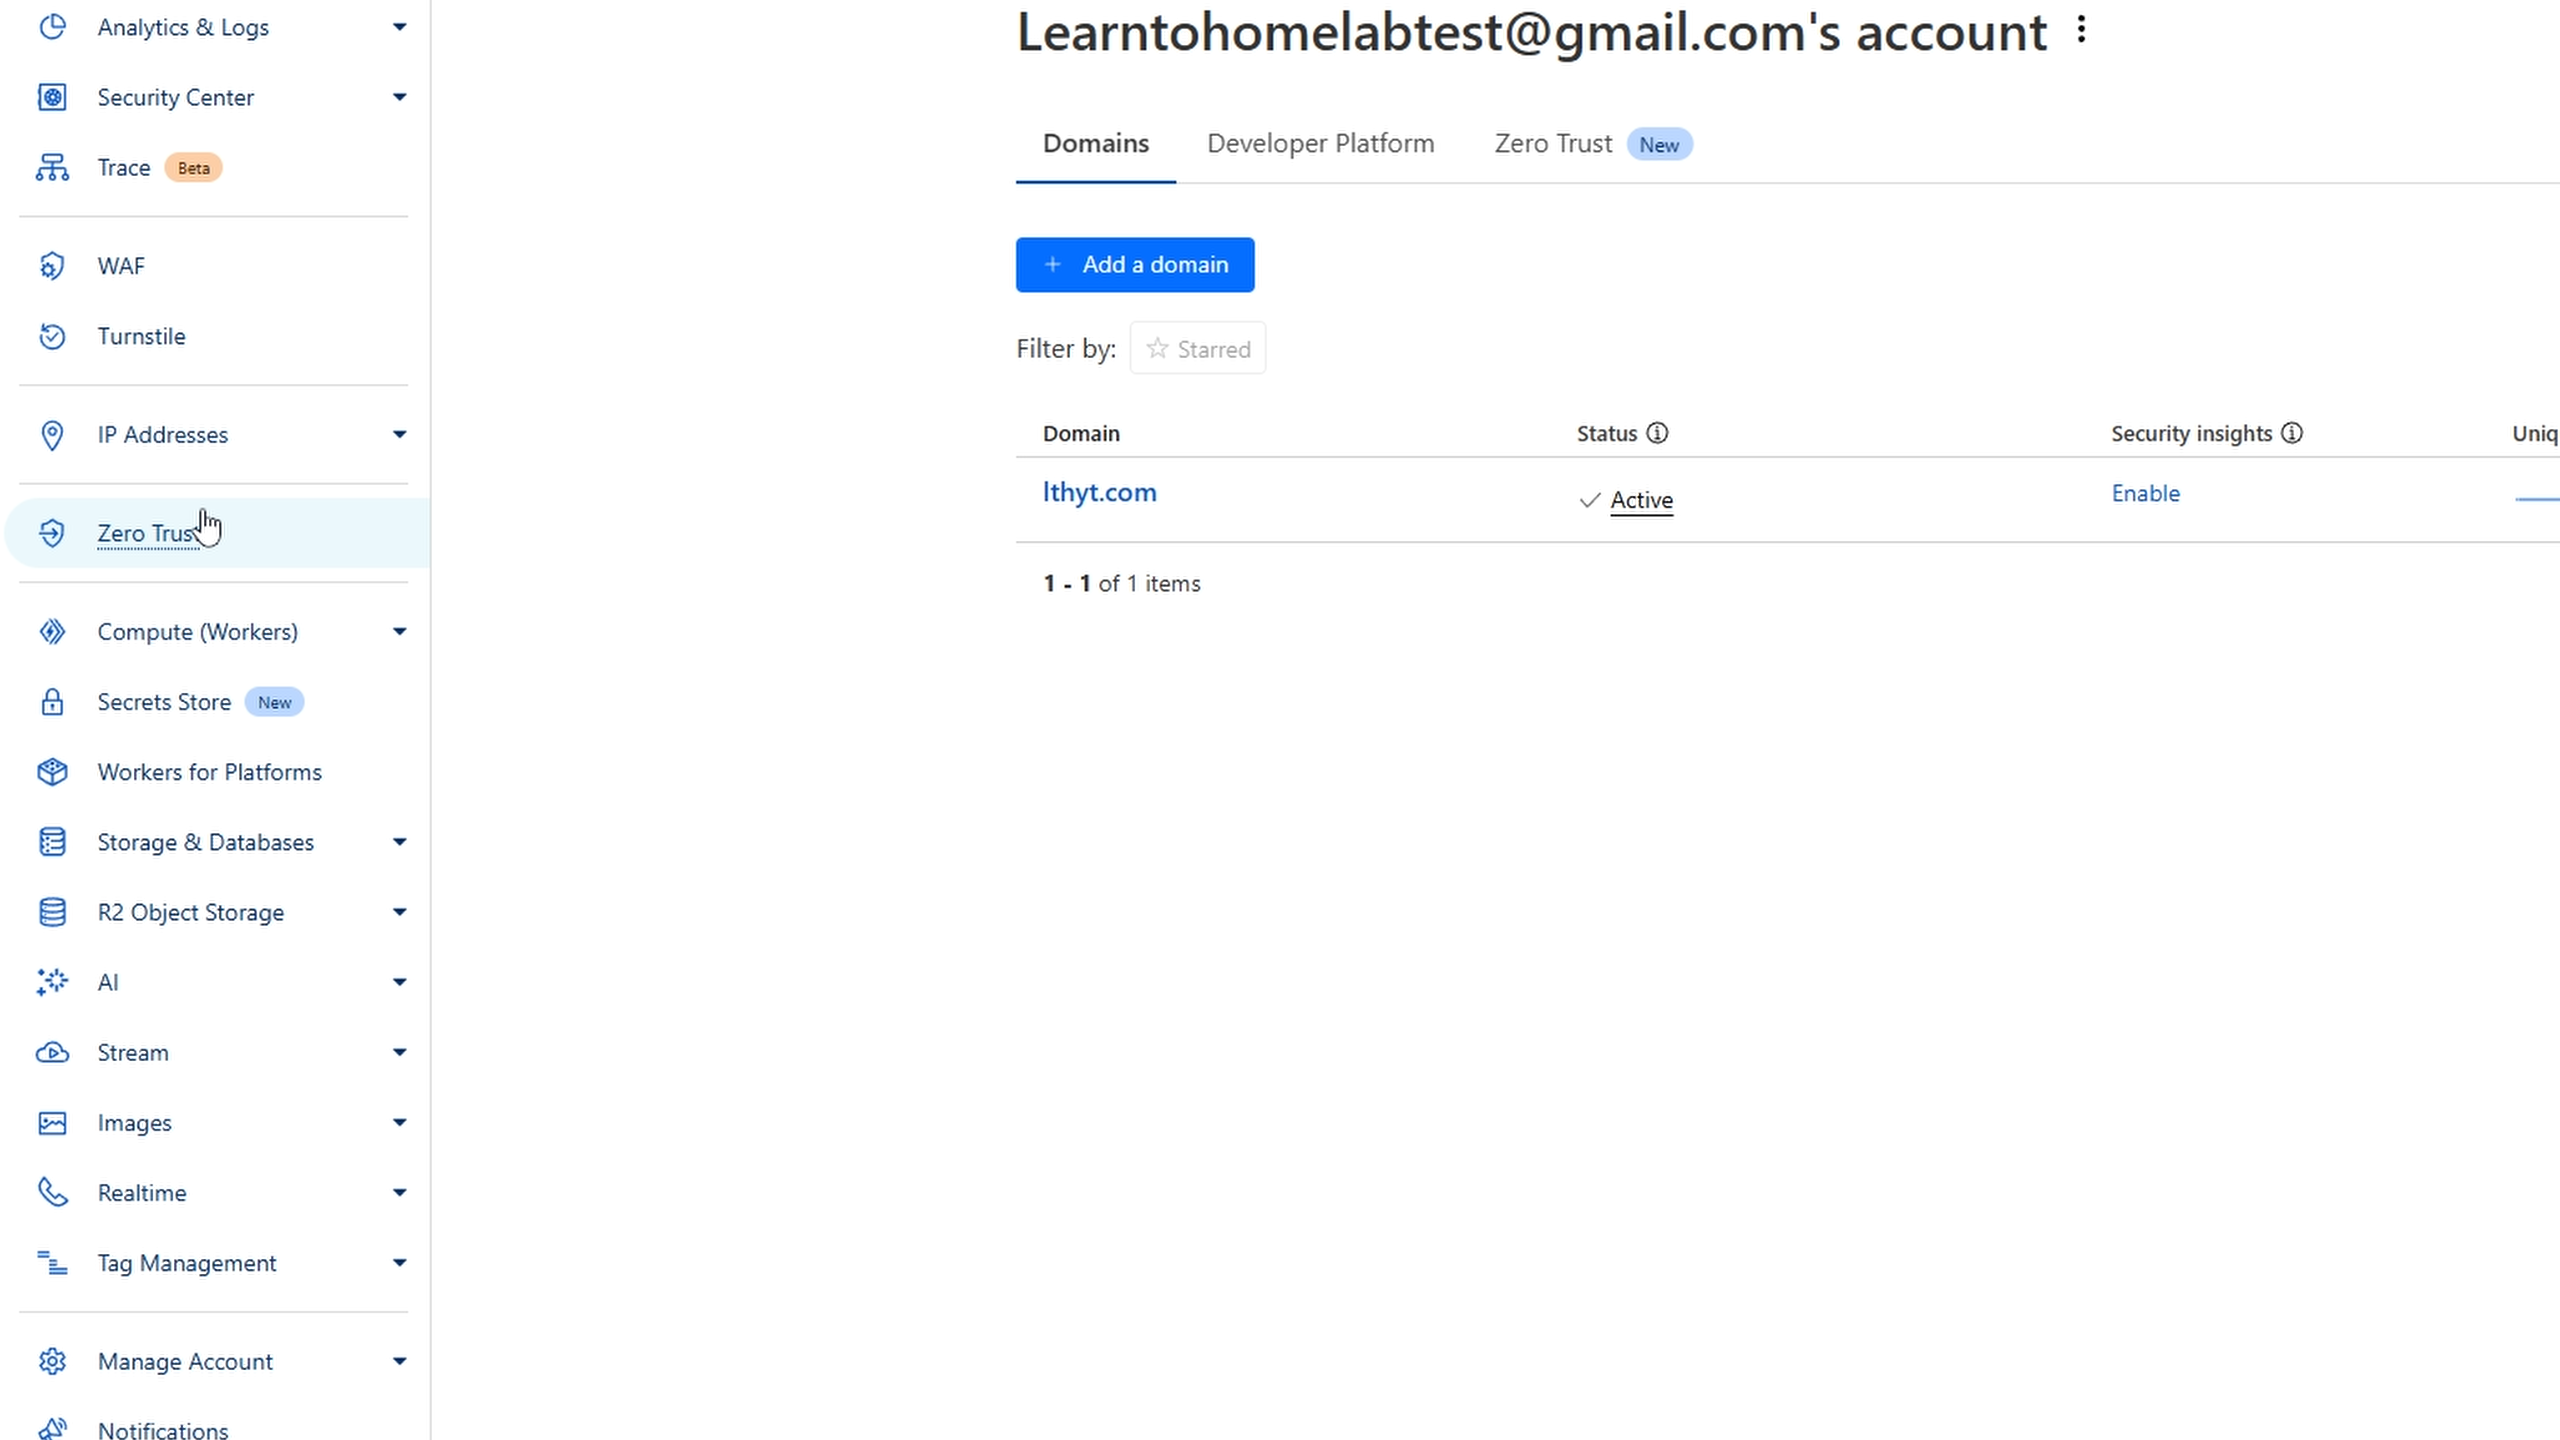
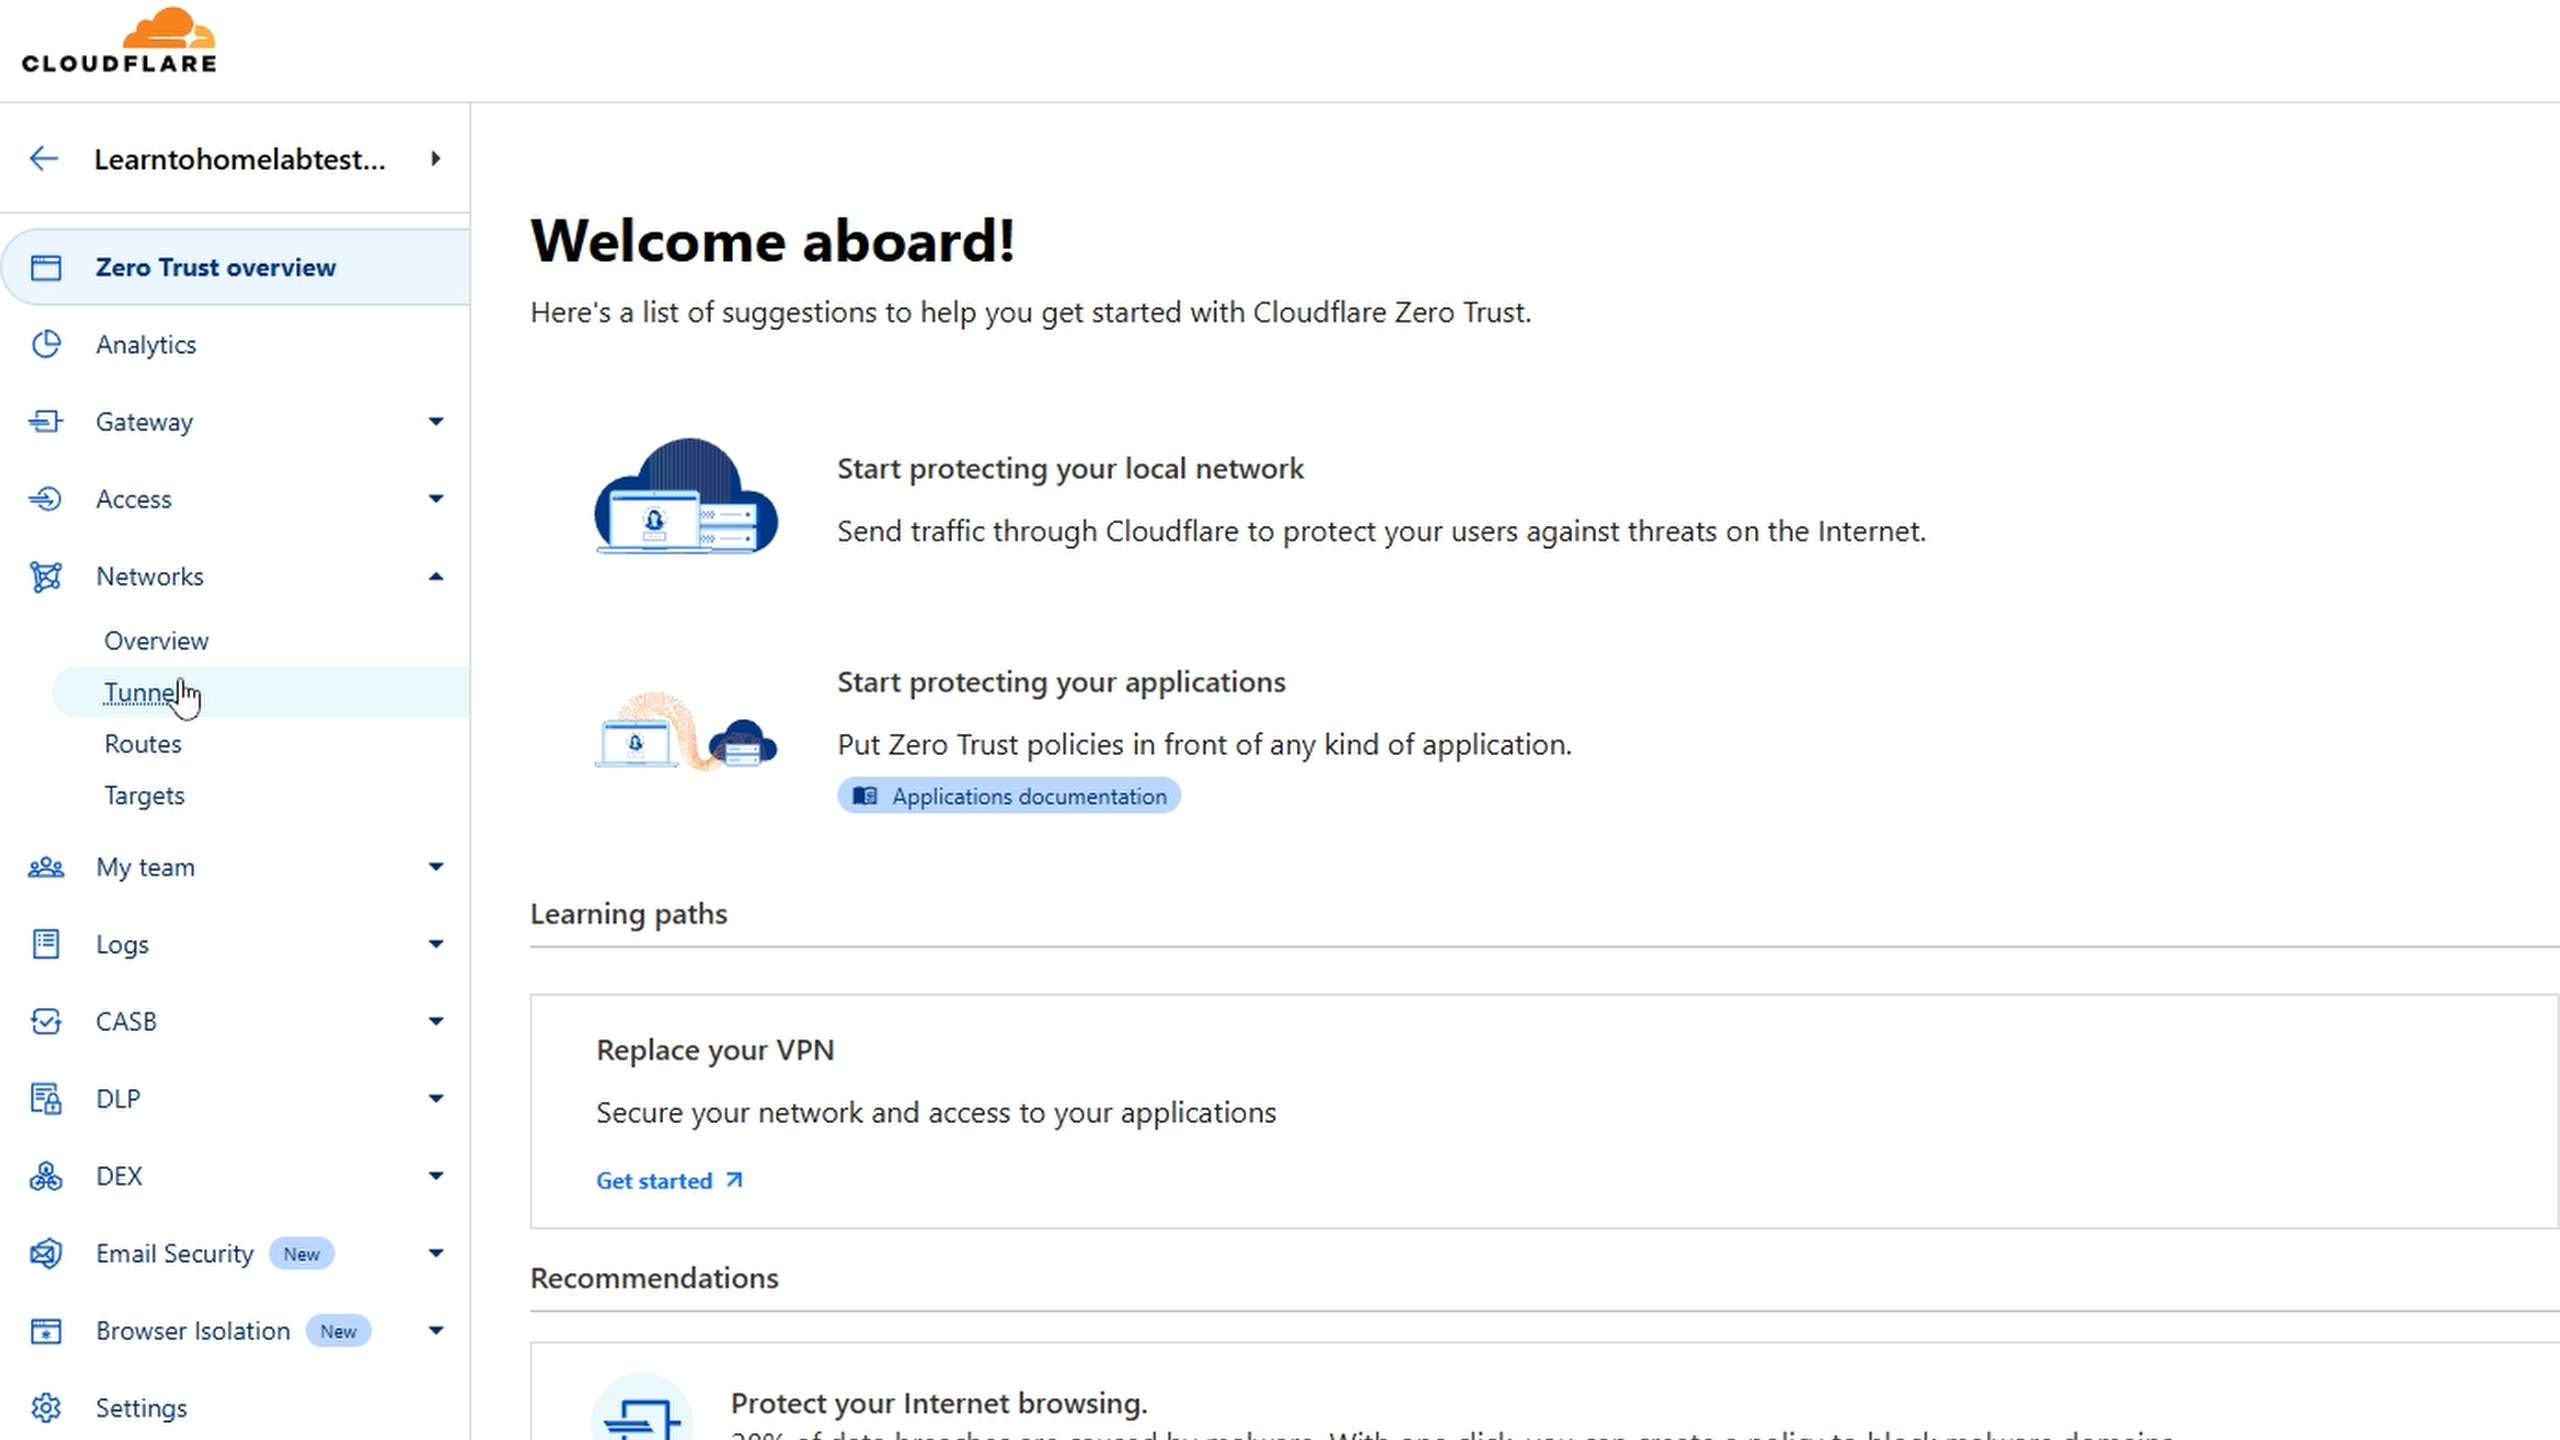
After you have a domain, we need to select the zero trust page on the left.
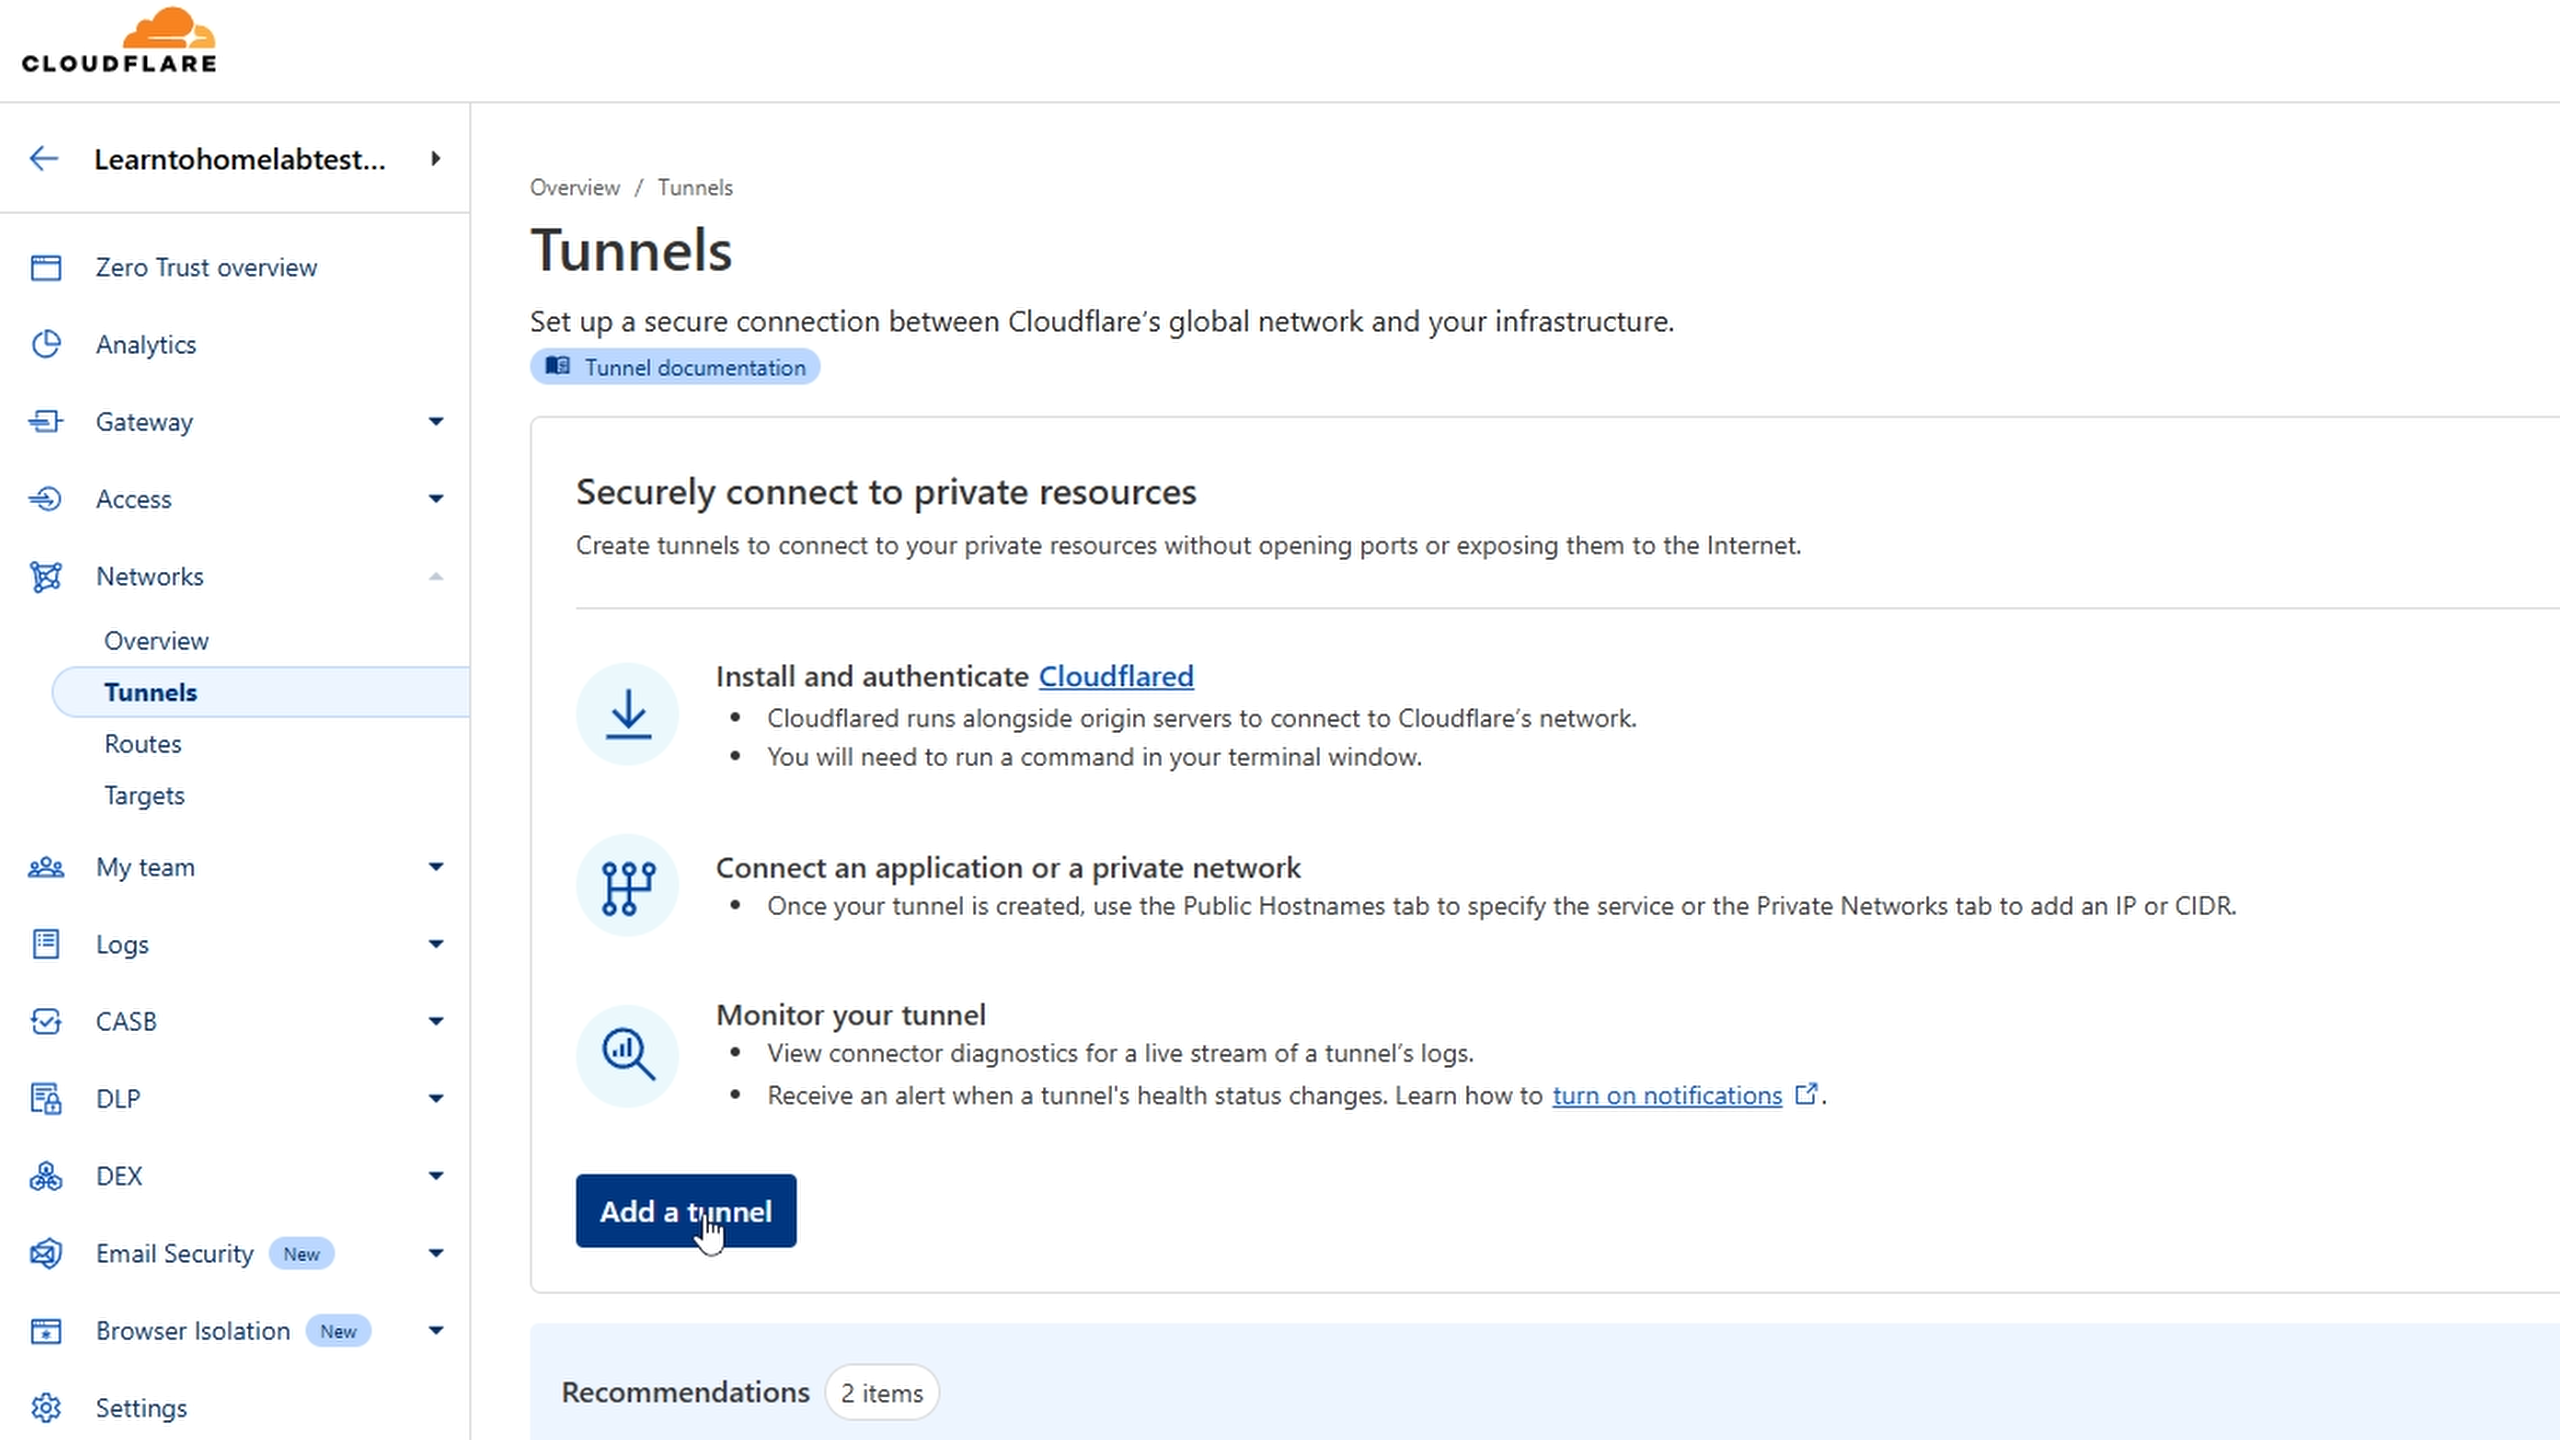
You will be presented with the following screen, select networks then tunnels
On the Tunnels screen we will select Add a tunnel
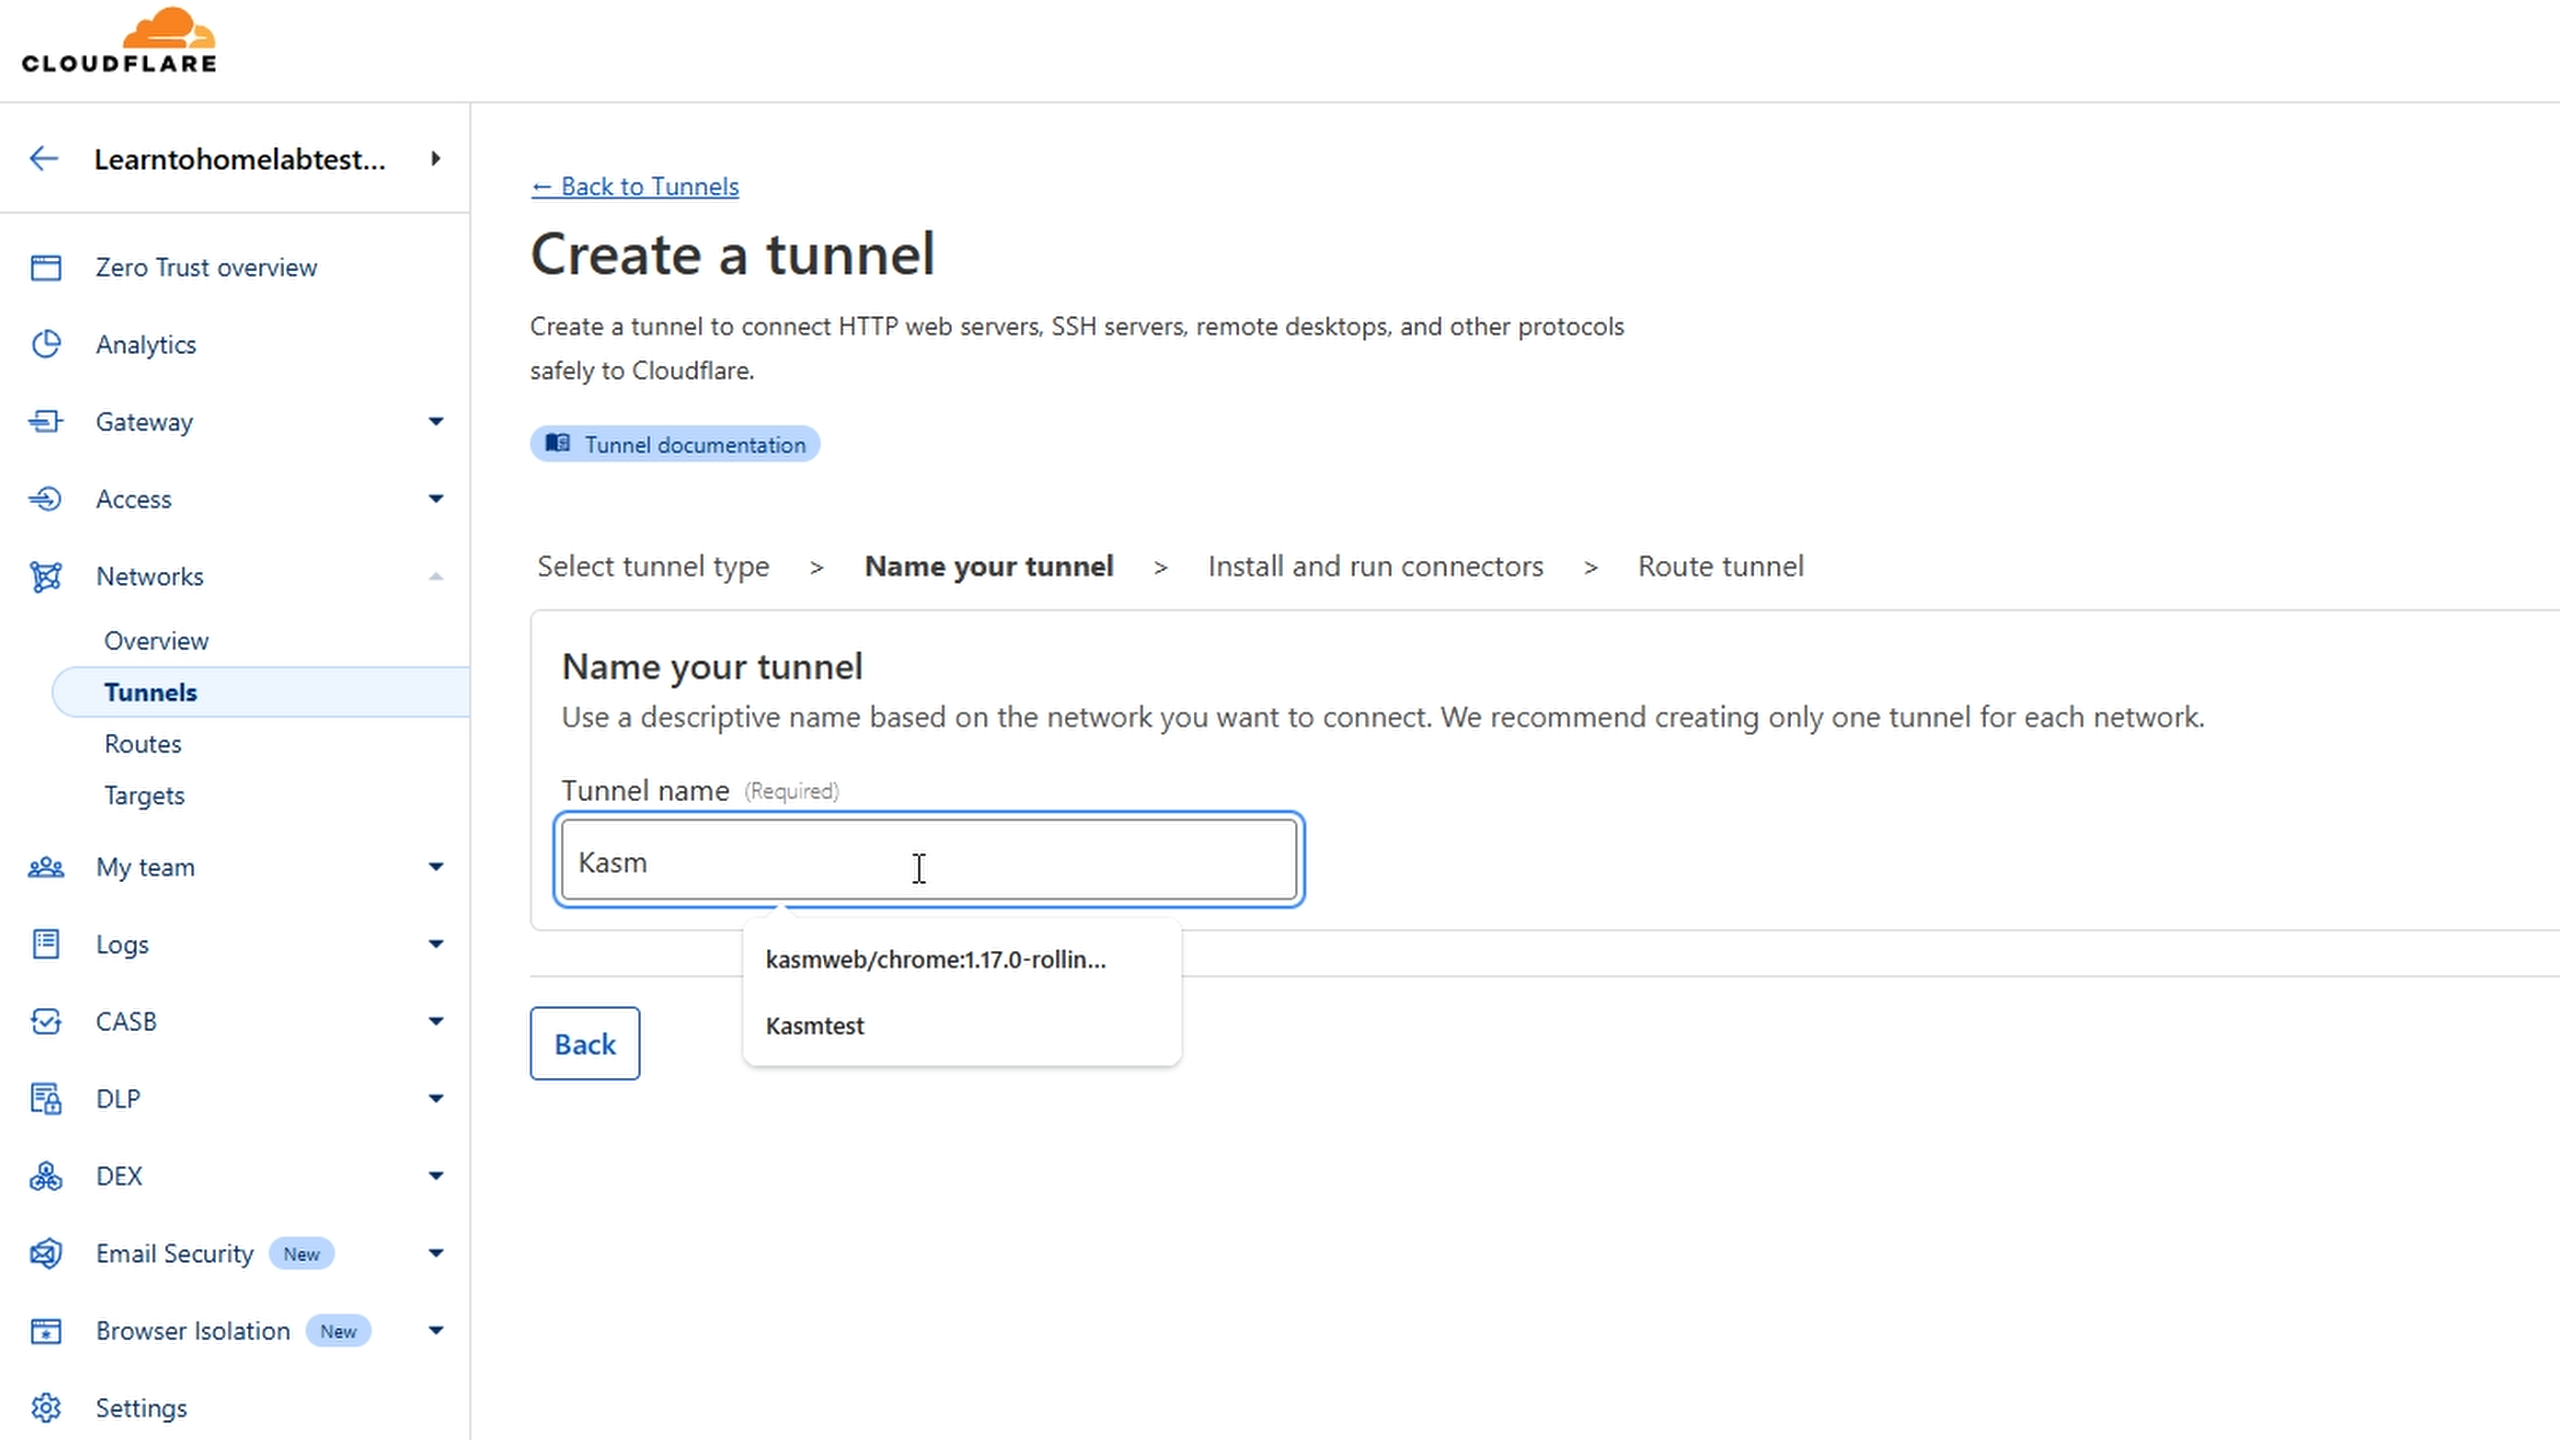
From here we will select the reccomended option Select Cloudflared

Name your tunnel to whatever you want.
Next we will select our operating system, in this case that will be Debian.
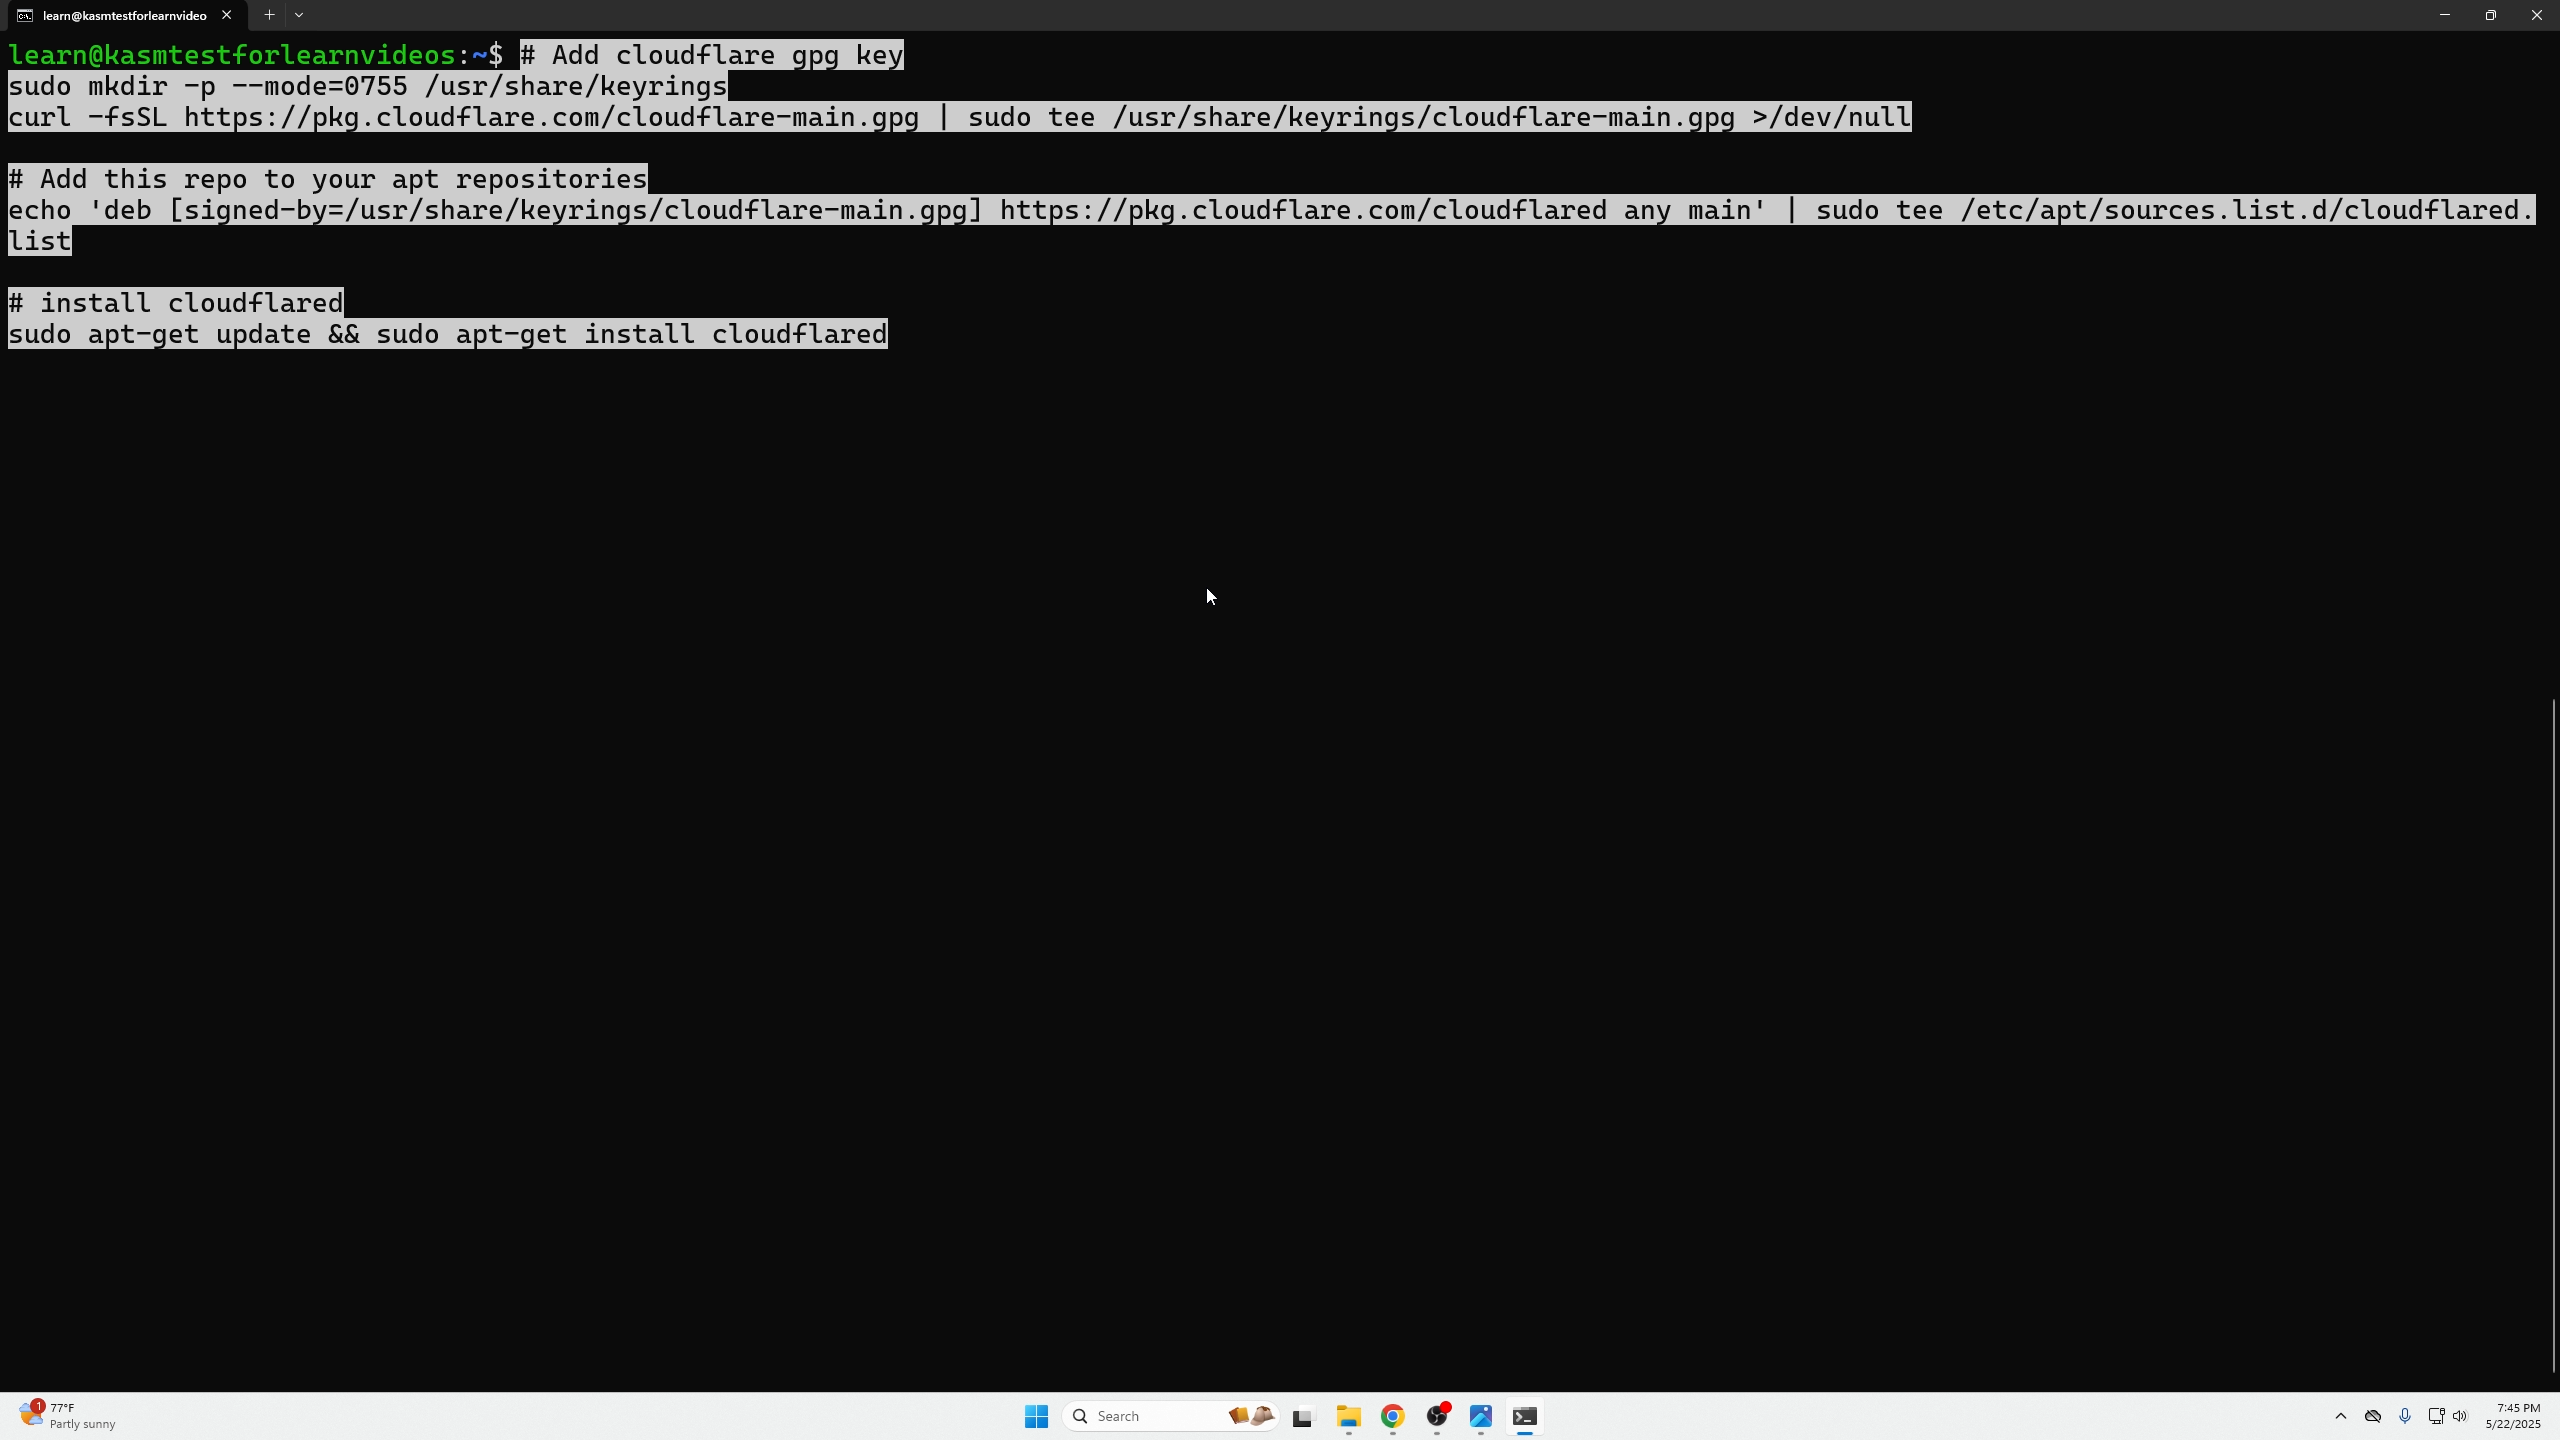
Next we need to take the following two commands and paste them into a dedicated VM for Cloudflare which will be used as our exit node within our home network. This will give Cloudflare access to your whole home network, thus a tunnel can be created for ANY services within your homelab. For the purpose of this video we simply installed the tunnel on our KASM VM and showed you how to access KASM from the public domain we bought at the beginning of this tutorial.
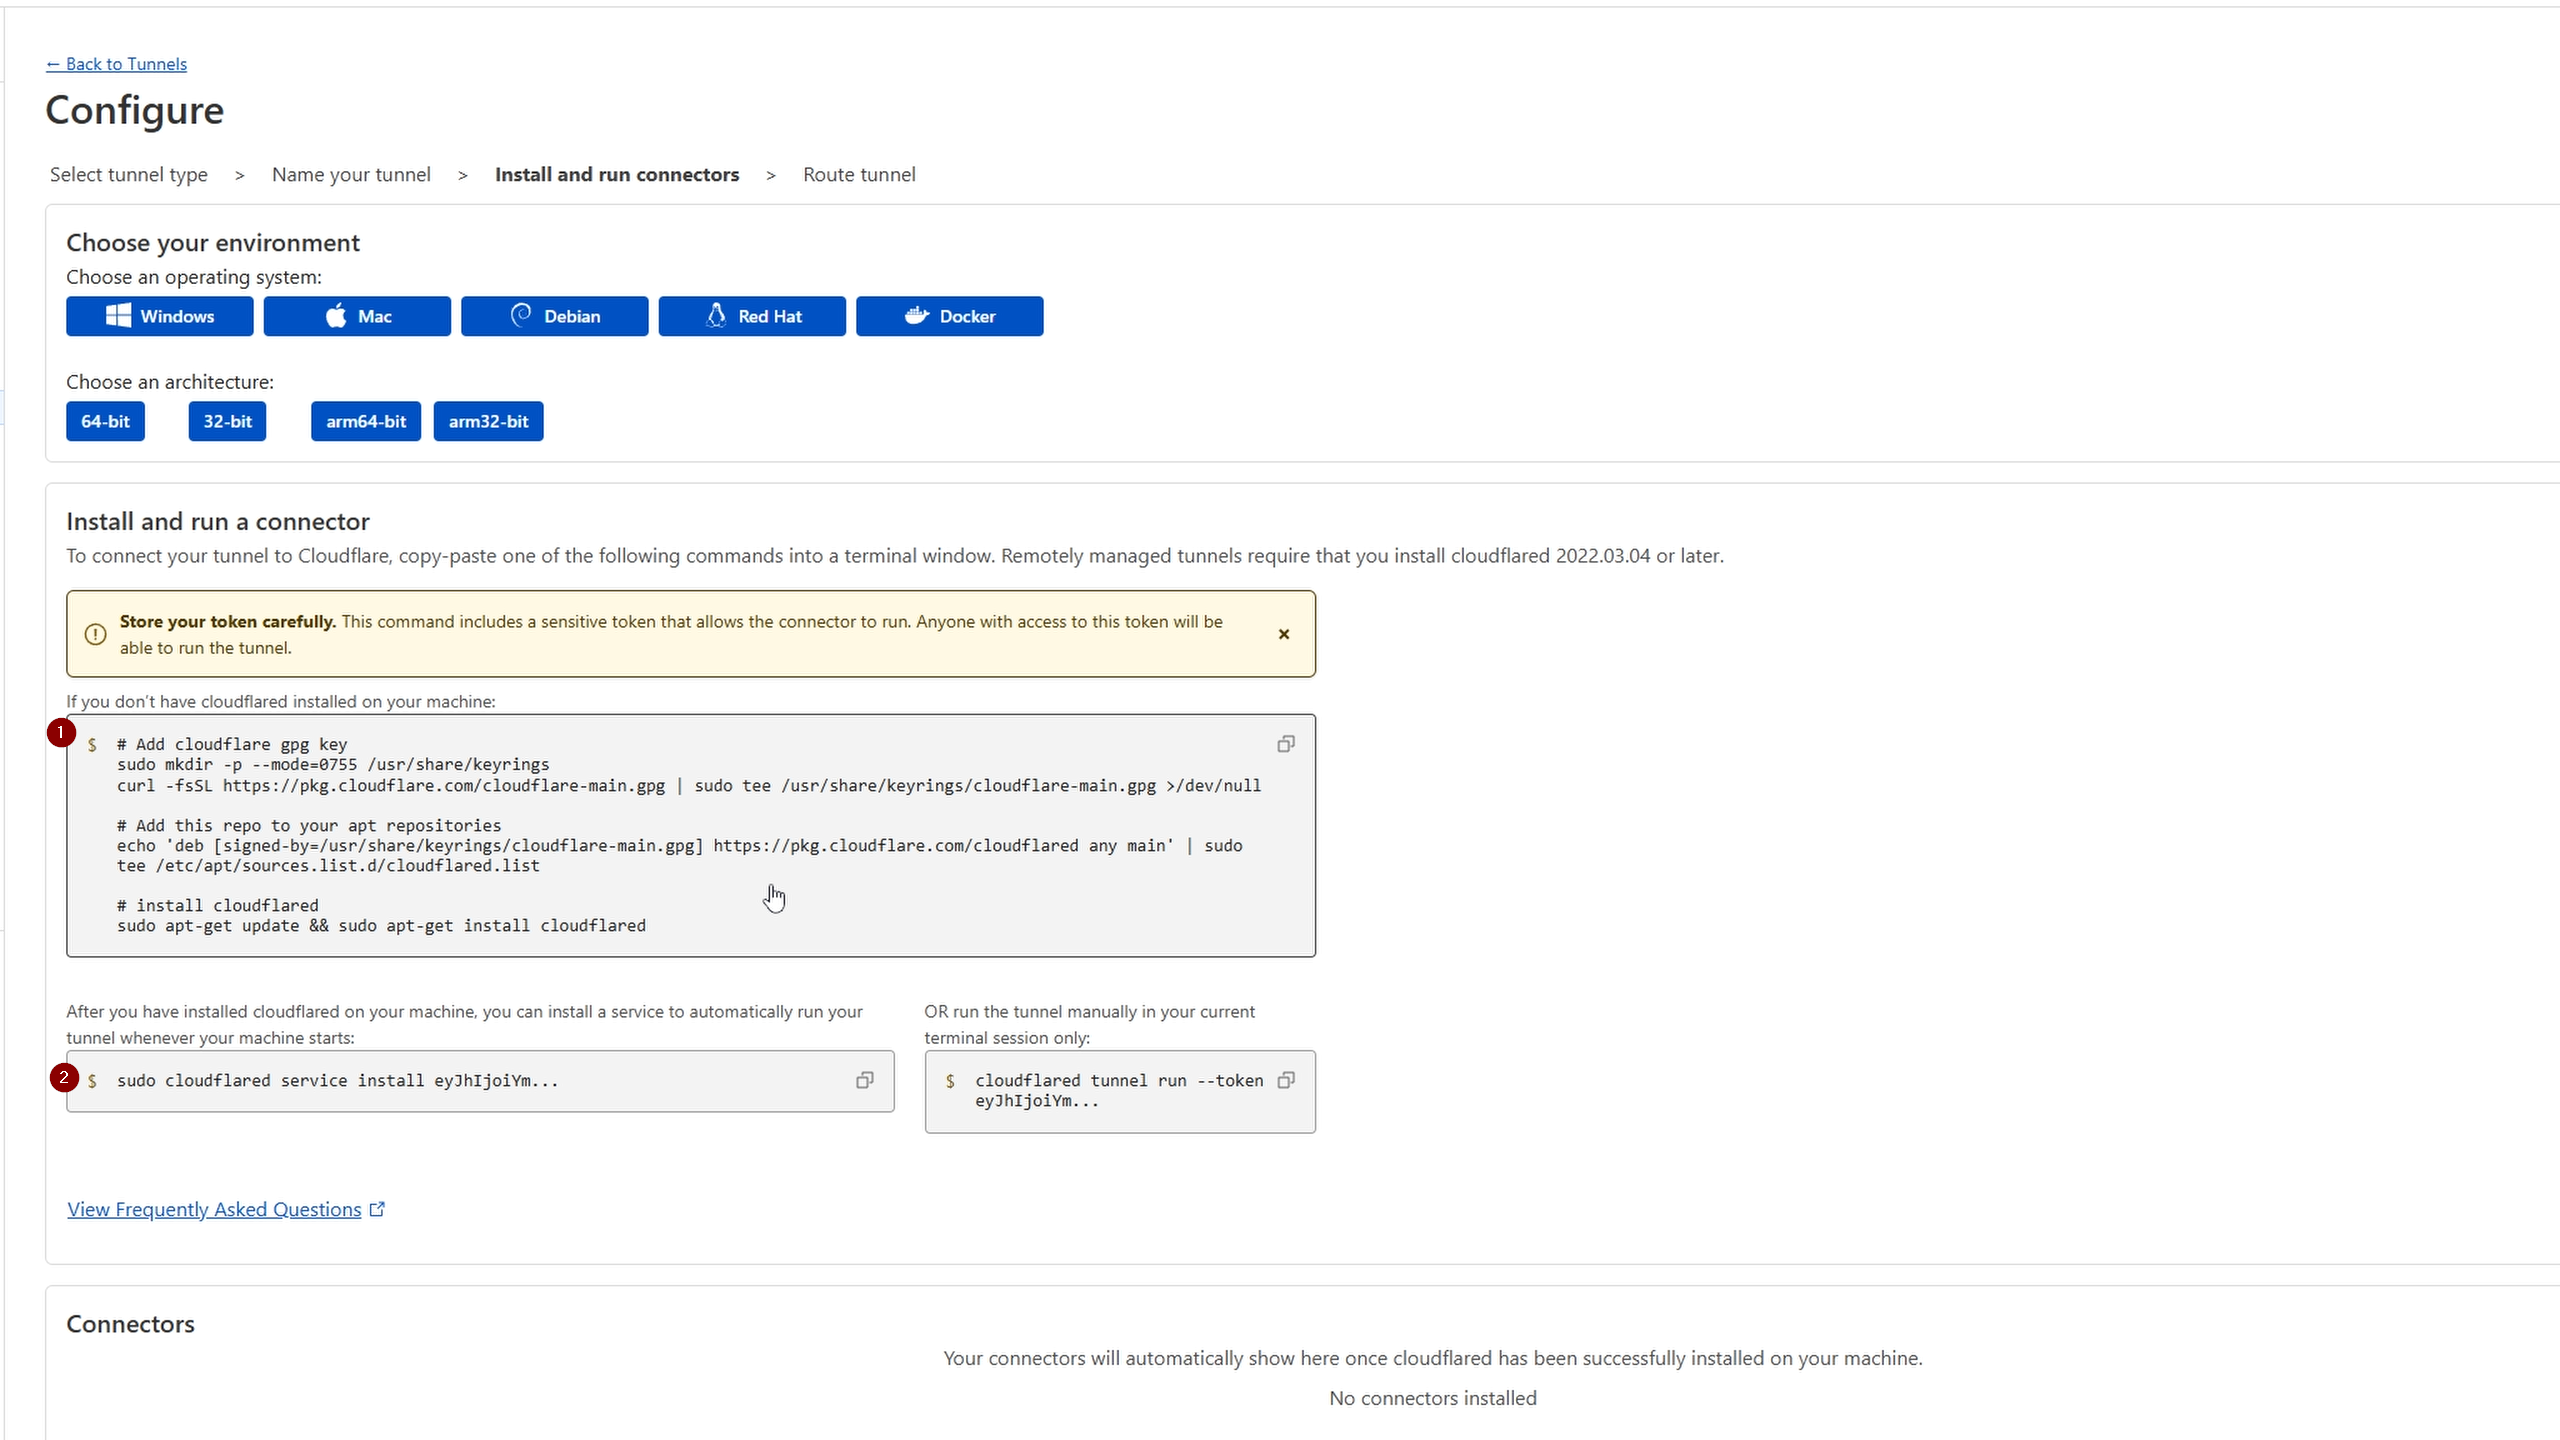
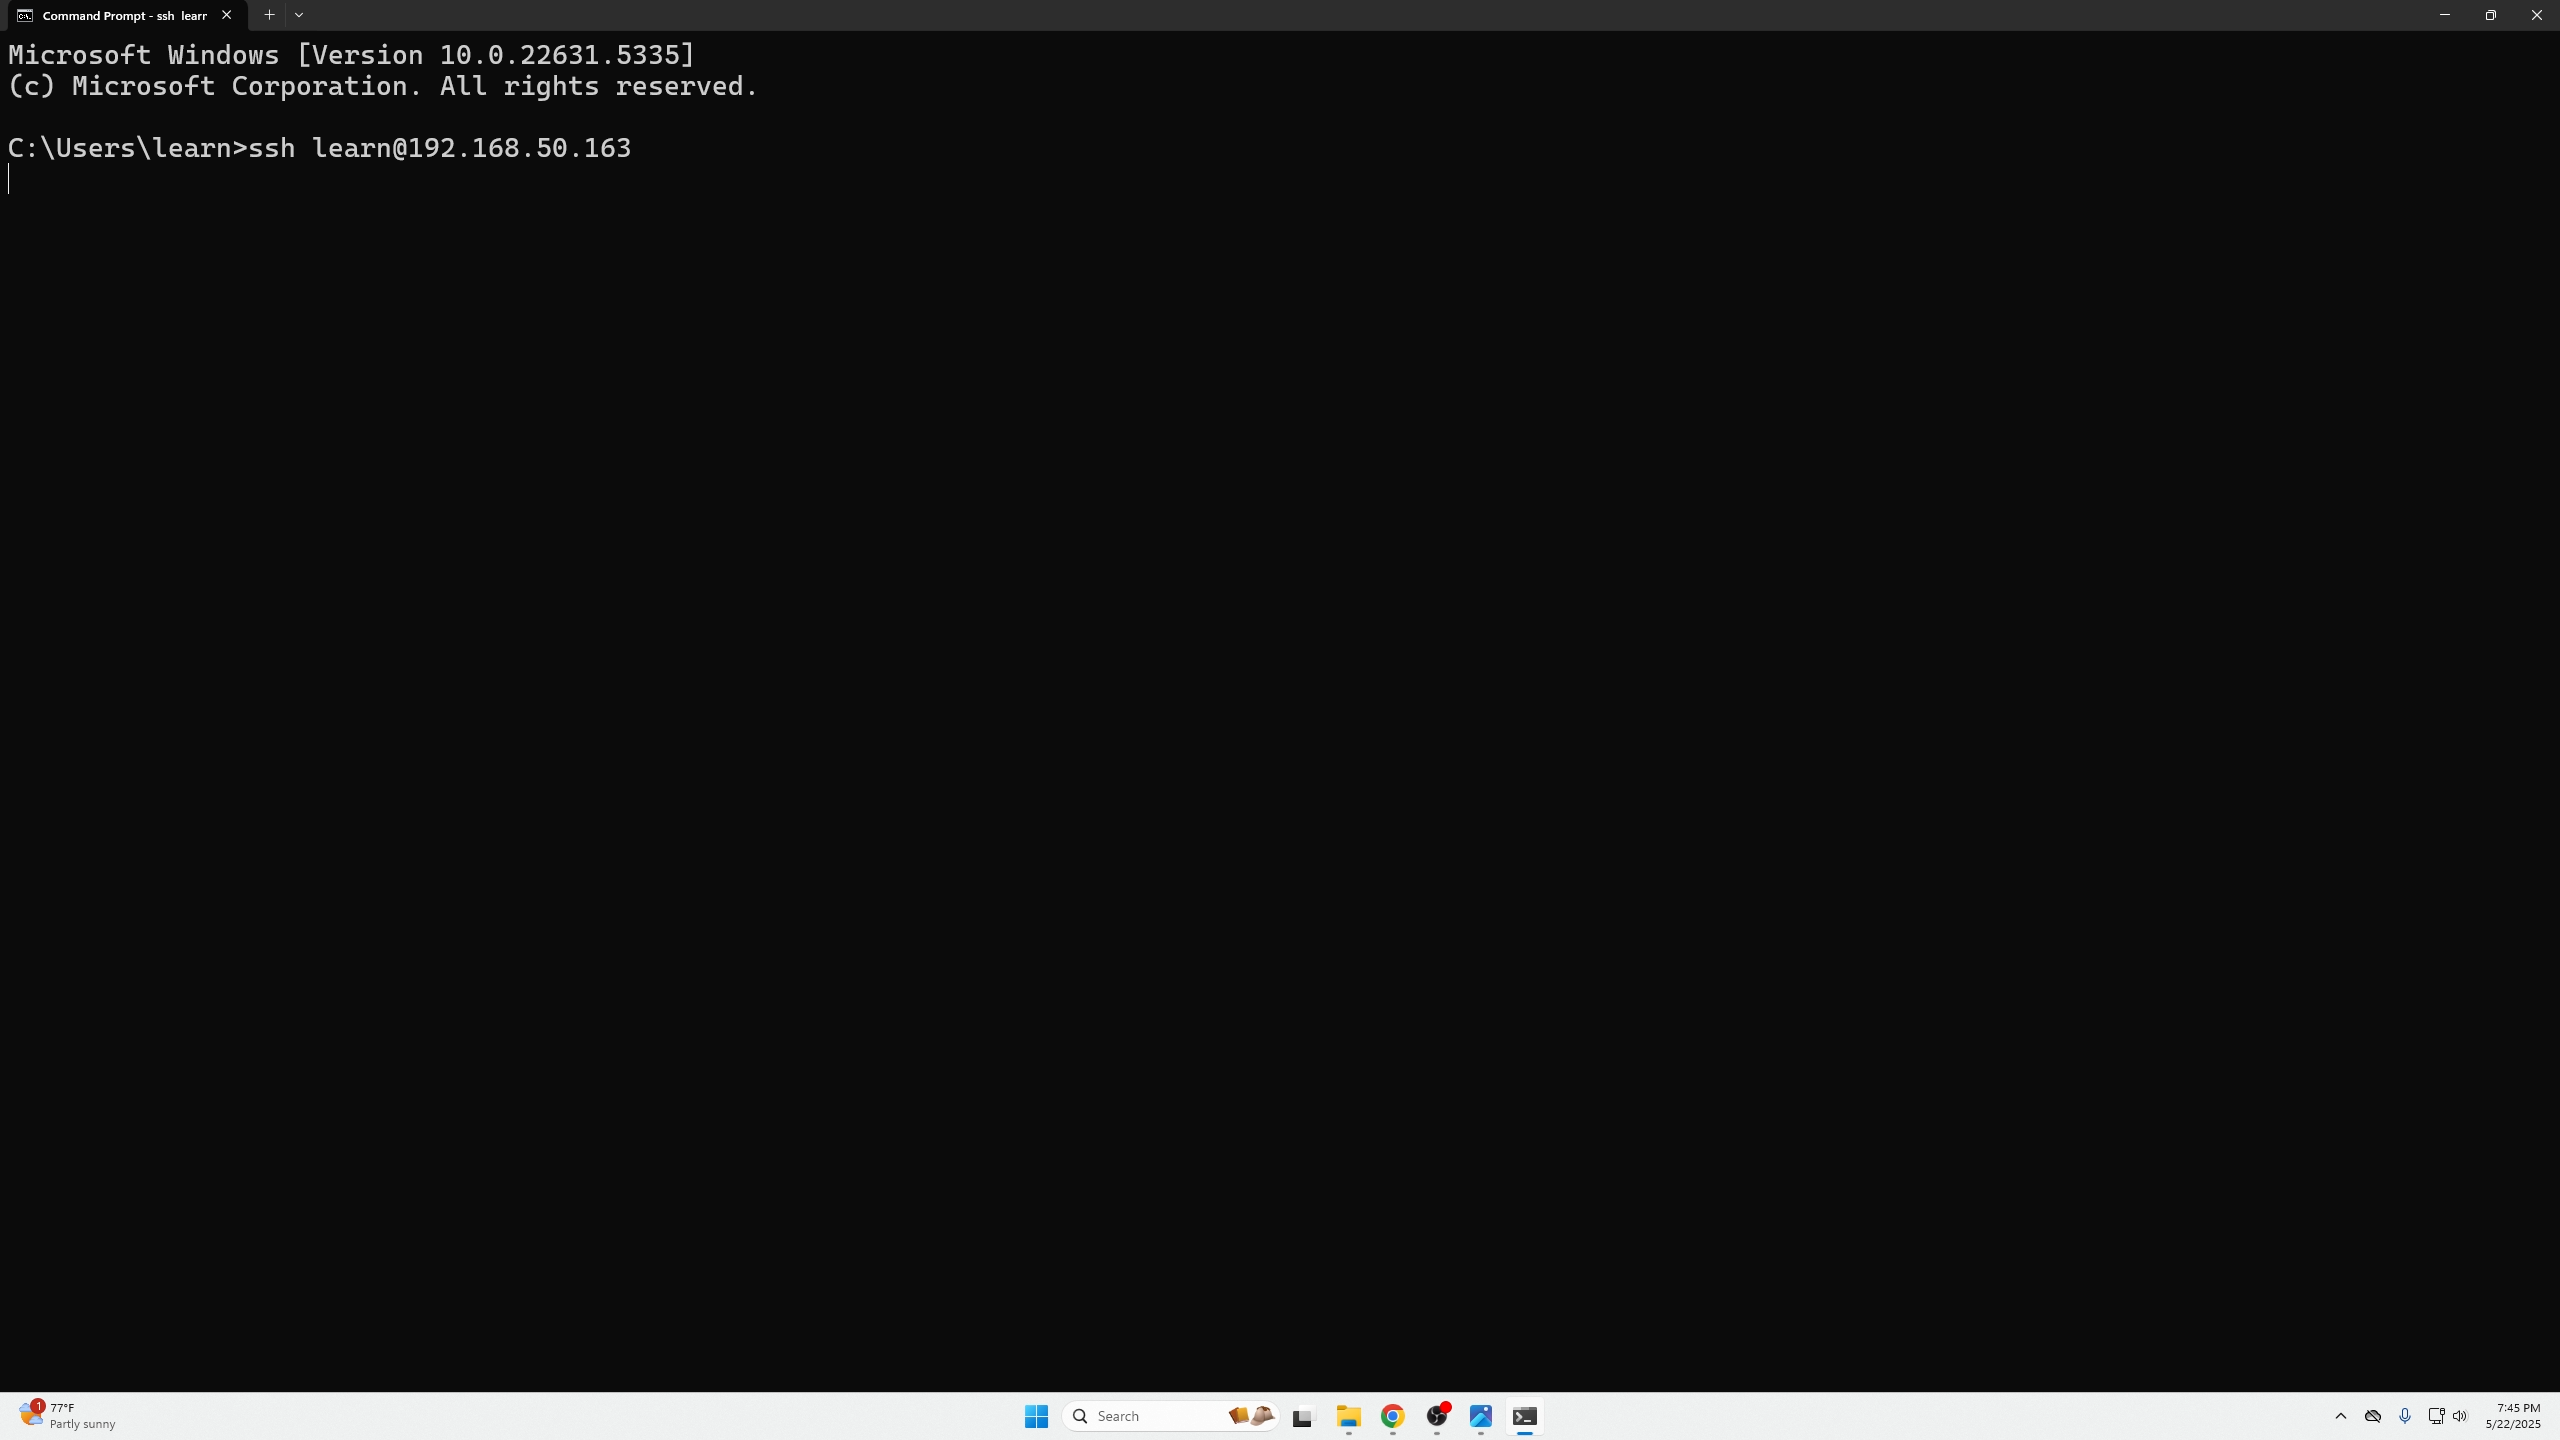
SSH into your machine to paste the two above commands:
pasted commands
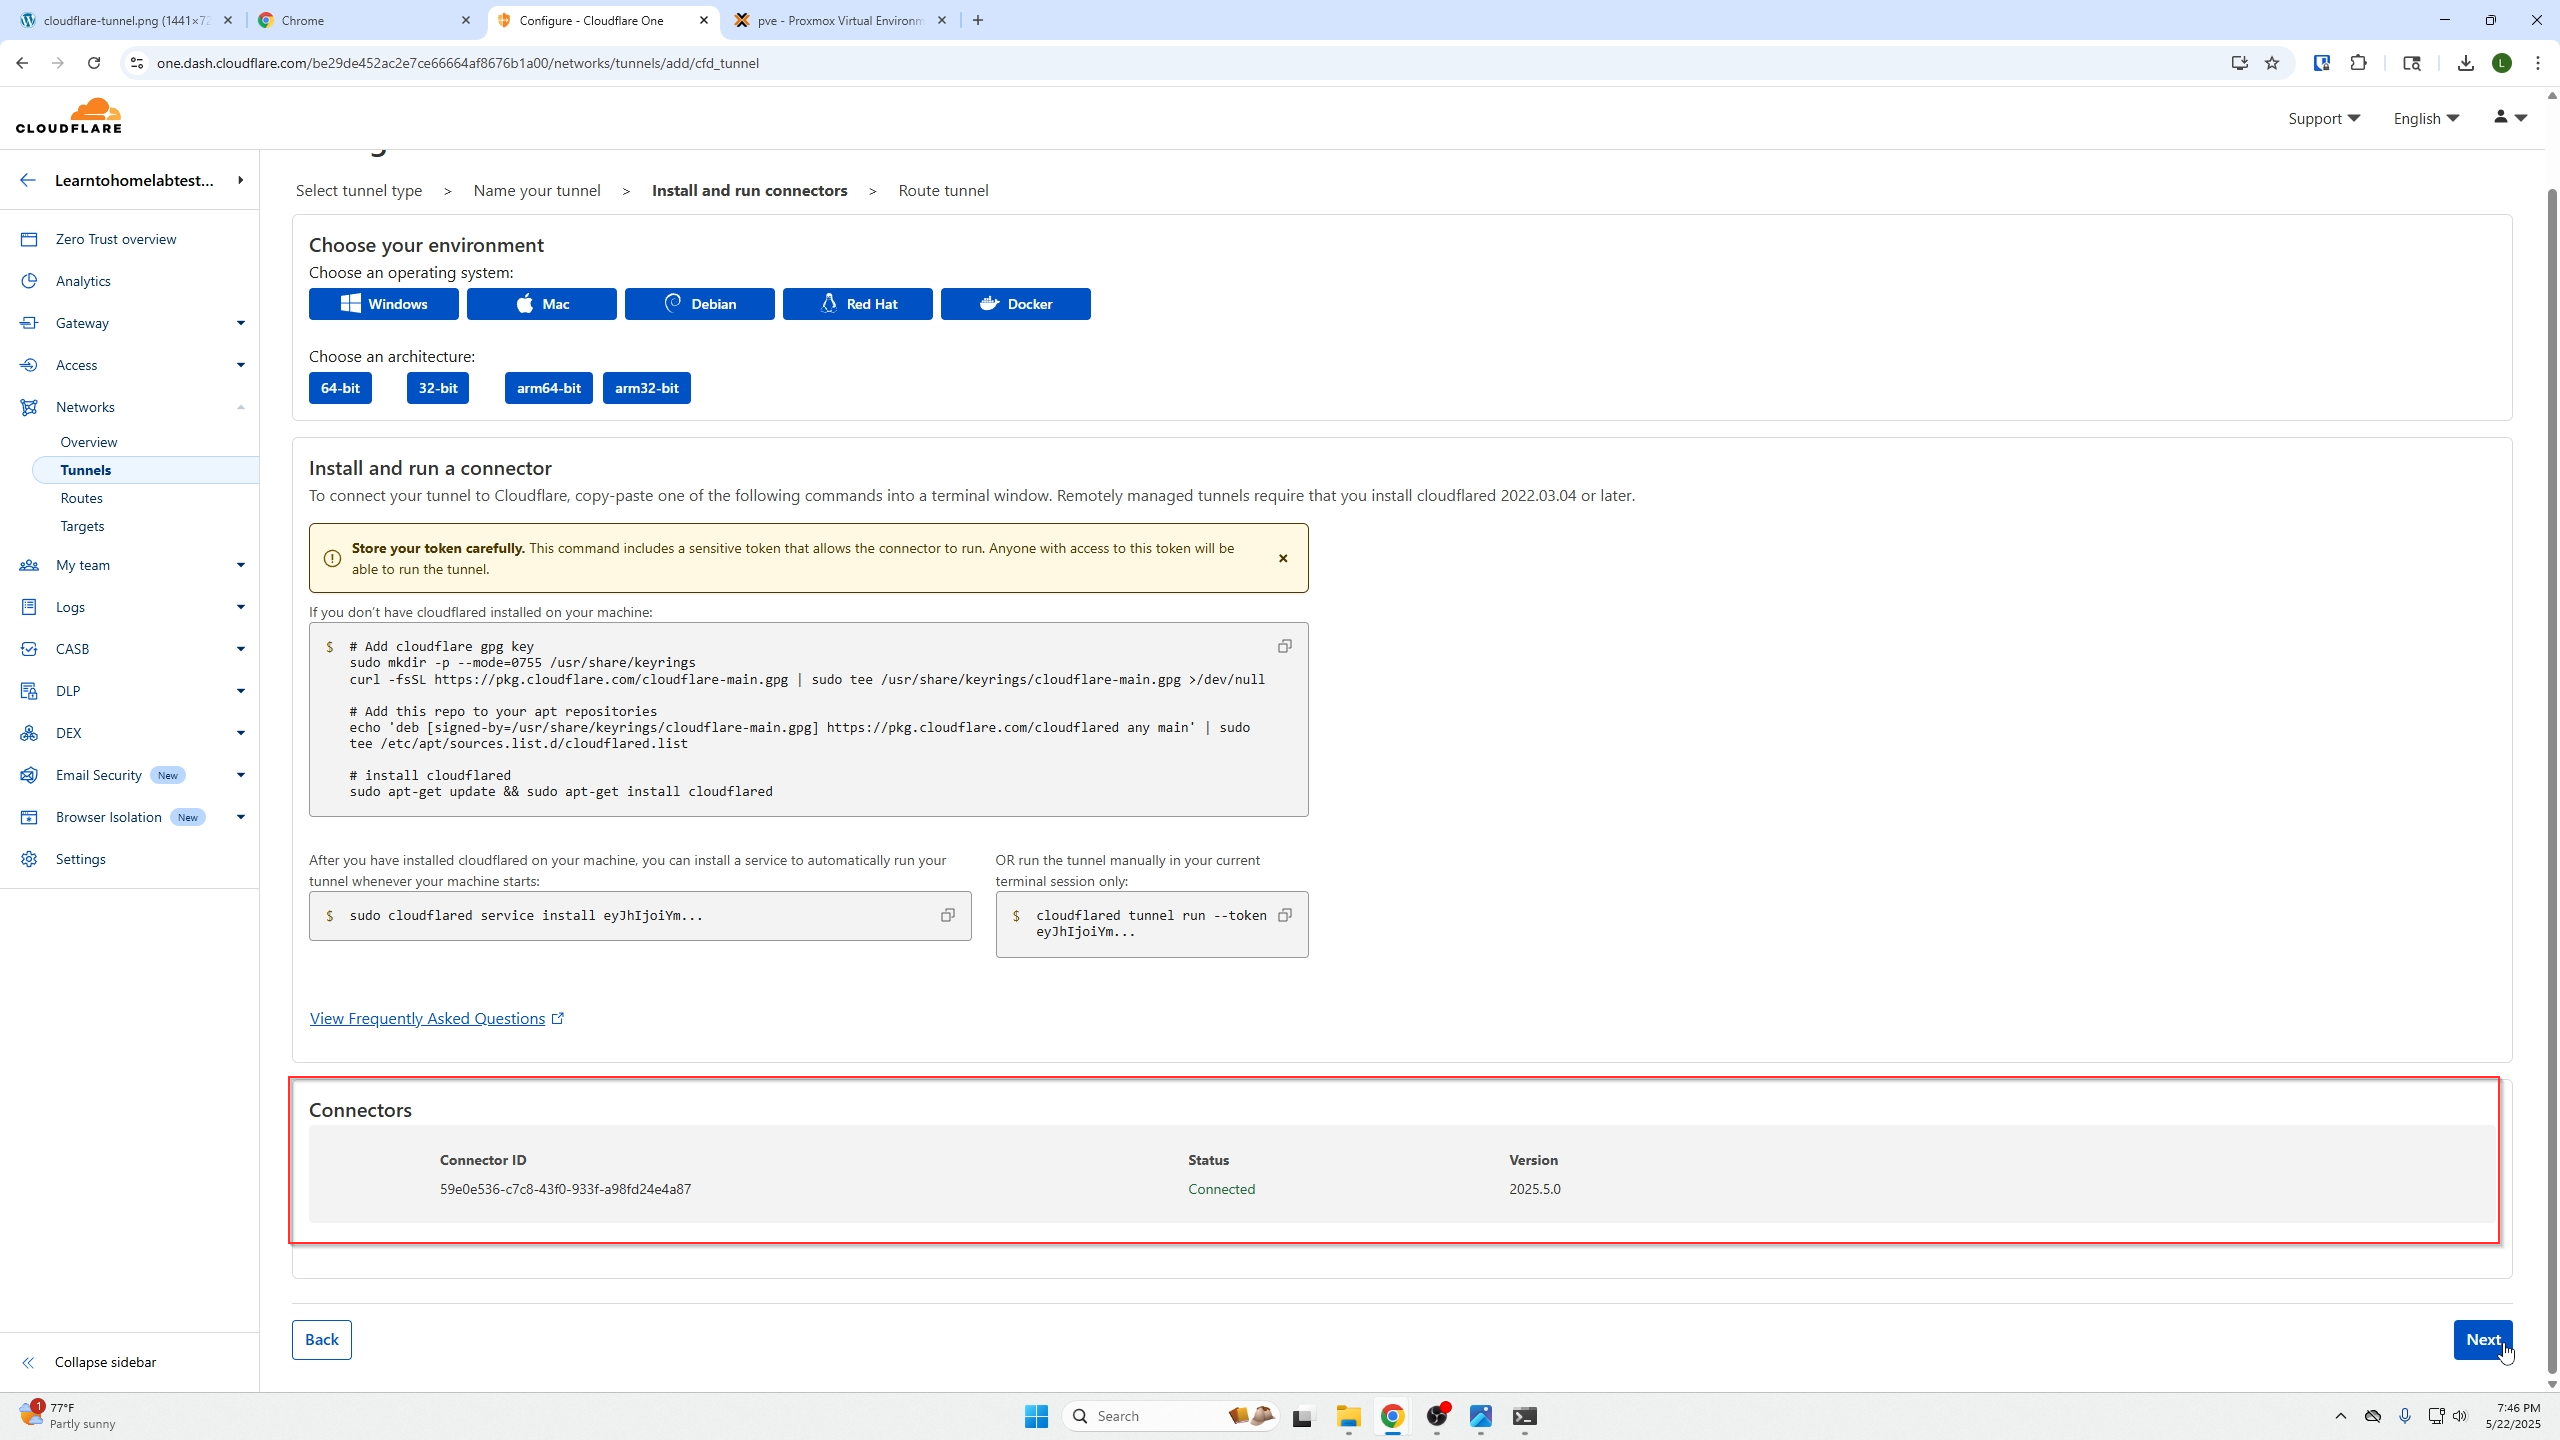
Next we will see the tunnel connection has been made.
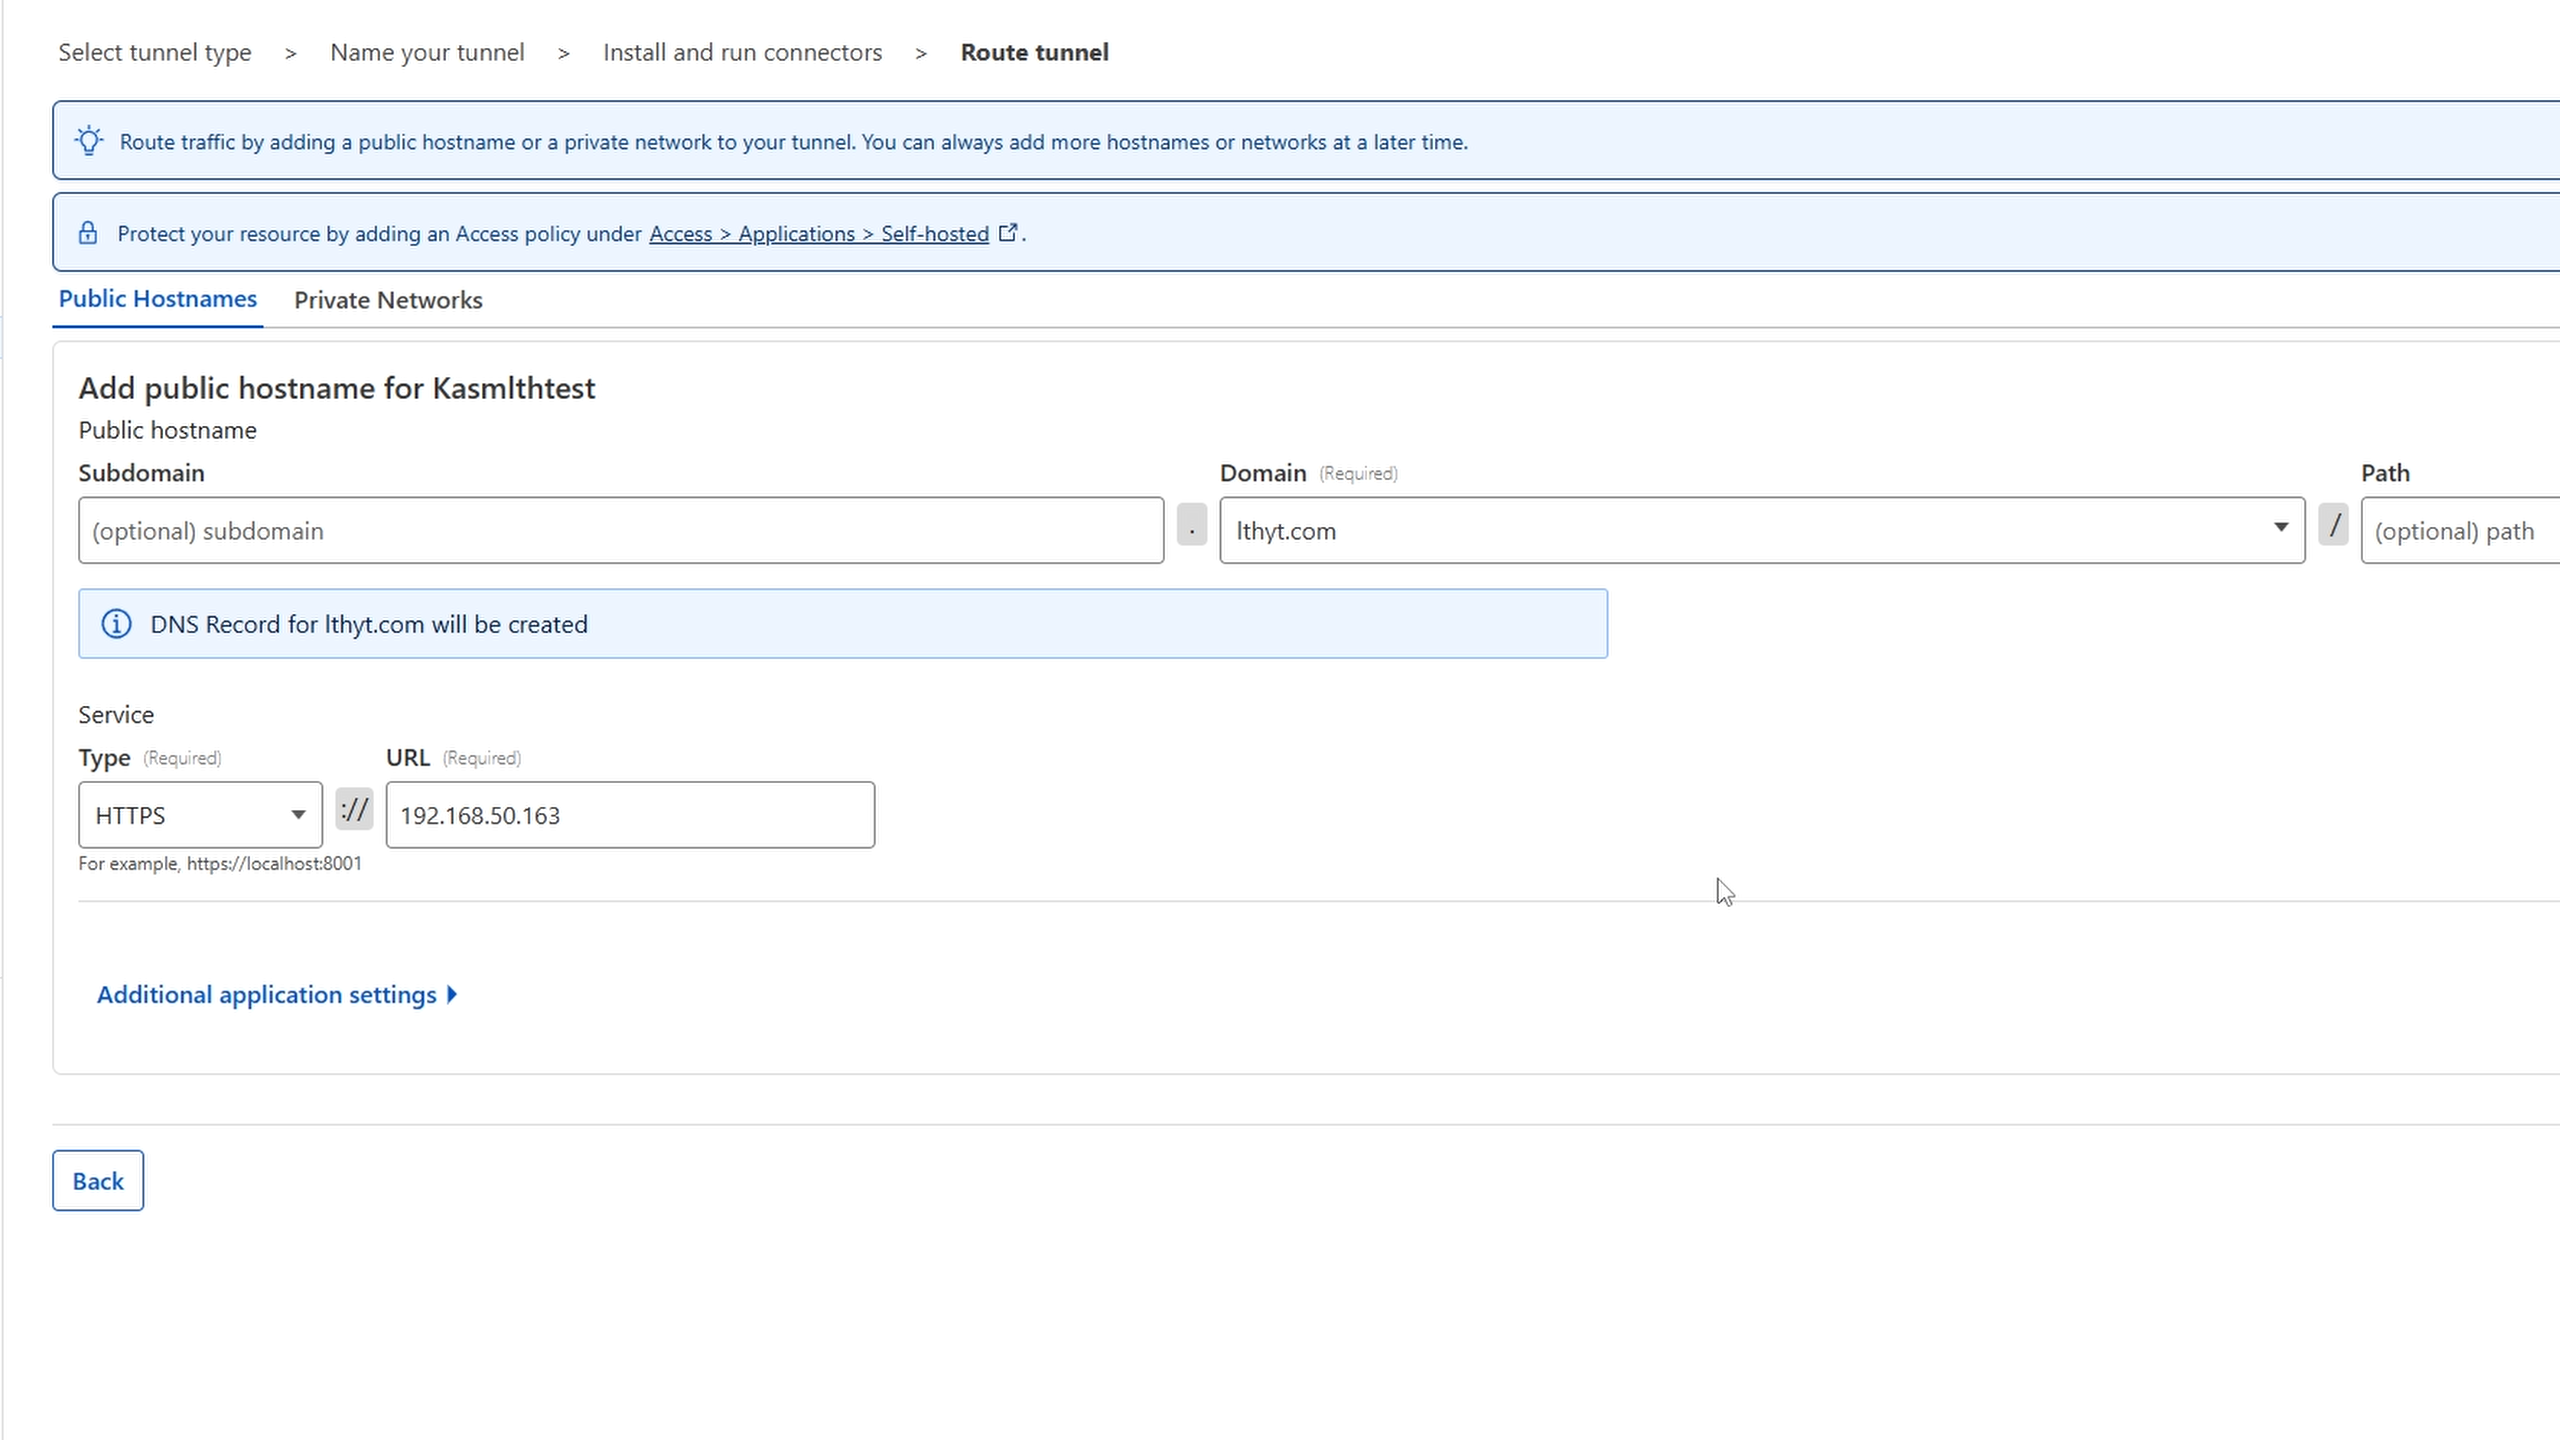
Now you will select your subdomain (based on your service), domain name you want to use, and the service: protocol + Ip_address of the software/application you want to make accessible. In our case KASM uses HTTPS and then we did the local IP of the KASM VM.
After that is created we will need to click the 3 dots on the far right and edit our new tunnel:

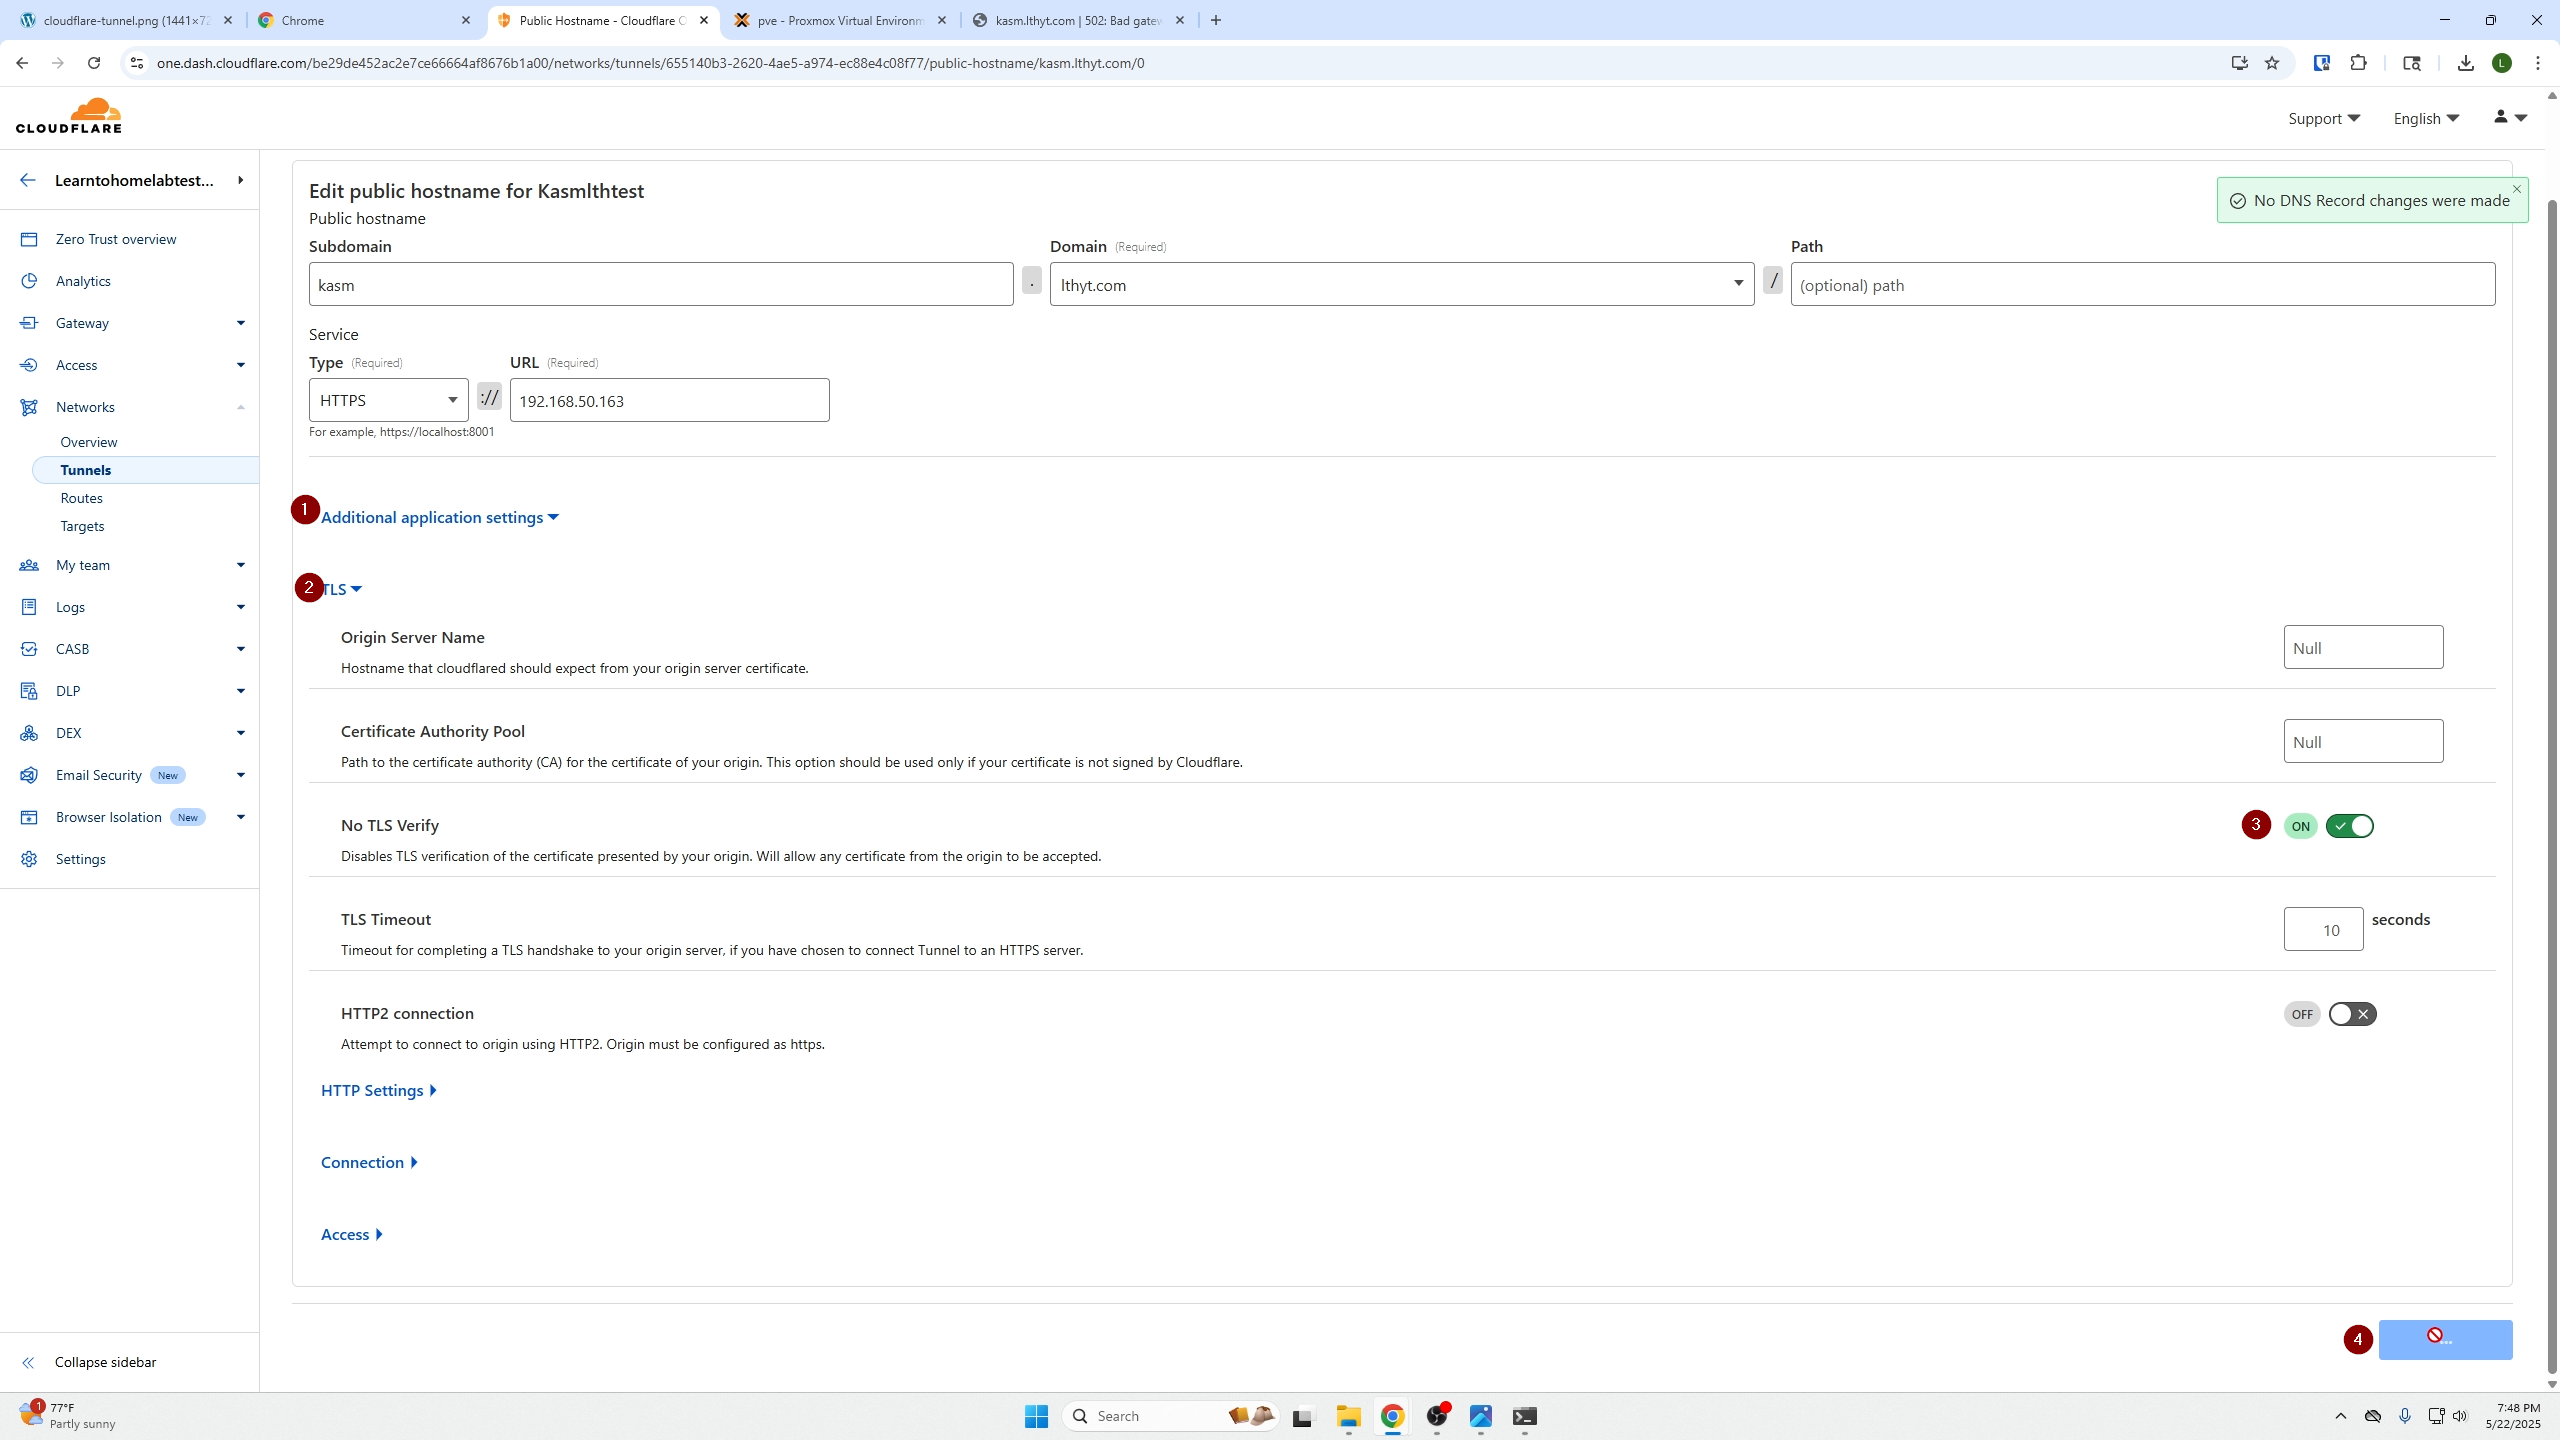
You will then be presented with the following screen, select additional application settings, TLS, and under No TLS Verify turn that on and click save.
Now go into another browser tab and access your service at the URL you created under your tunnel!