6 How to Upload SSH Keys to GitHub and Manage your SSH Keys
When installing Ubuntu Server, you may have noticed an option to import SSH keys; that is where this step comes into play. In the previous SSH section (section 2), I showed you how to create and upload SSH keys to your server, you can find that episode here if you need to create a key first. Well, you can avoid the majority of those steps by adding the SSH key during the installation of Ubuntu Server from your GitHub account.
First, log in to Github here
- In the upper-right corner of any page on GitHub, click your profile photo, then click Settings.
- In the "Access" section of the sidebar, click SSH and GPG keys.
- Click Add SSH key.
- In the "Title" field, add a descriptive label for the new key. For example, if you're using a personal laptop, you might call this key "Personal laptop".
- Select the type as authentication.
- In the "Key" field, paste your public key. This will be found on your computer, make SURE you copy the public key with .pub extension and NOT your private key (this can be done by right clicking on it, properties, and looking at the extension type for .pub).
- Click Add SSH key.
If prompted, confirm access to your account on GitHub.
Download keys from GitHub to an already created Linux Server
If you want to grab the SSH key from your GitHub account for an already set-up Linux server, you can use the following command:
Managing Multiple SSH Keys
We first want to create the config file (without any extension) using the following command in our CMD/CLI:
New-Item -Path $env:USERPROFILE\.ssh\config -ItemType File -Force
notepad $env:USERPROFILE\.ssh\config
Then we will use the following structure to add each server/service:
You need to do the following:
- Create a hostname (whatever you want)
- Add the server IP
- Add the Server’s username
- Add the private keys file nameThen the rest can stay default.
# This block defines how to connect to a specific server
Host <hostname you pick>                # This is what you use in the CMD to connect
    HostName <server ip>                # IP address or domain name of the server
    User <username on that server>      # Username to log in as
    IdentityFile ~/.ssh/<your_private_key>  # Full path to the private key
    Port 22                             # Optional: SSH port (default is 22)
    PreferredAuthentications publickey  # Optional: forces public key authentication
    IdentitiesOnly yes                  # Only use the IdentityFile specified, not all agent keys
Now, before we try to connect, we need to ensure only our logged-in user has permissions to the config file:
- Right-click on the newly created config file located in our .ssh directory.
- Select the security tab
- Select advanced
- Select Disable Inheritance
- Leave only your currently logged-in user and select Apply.
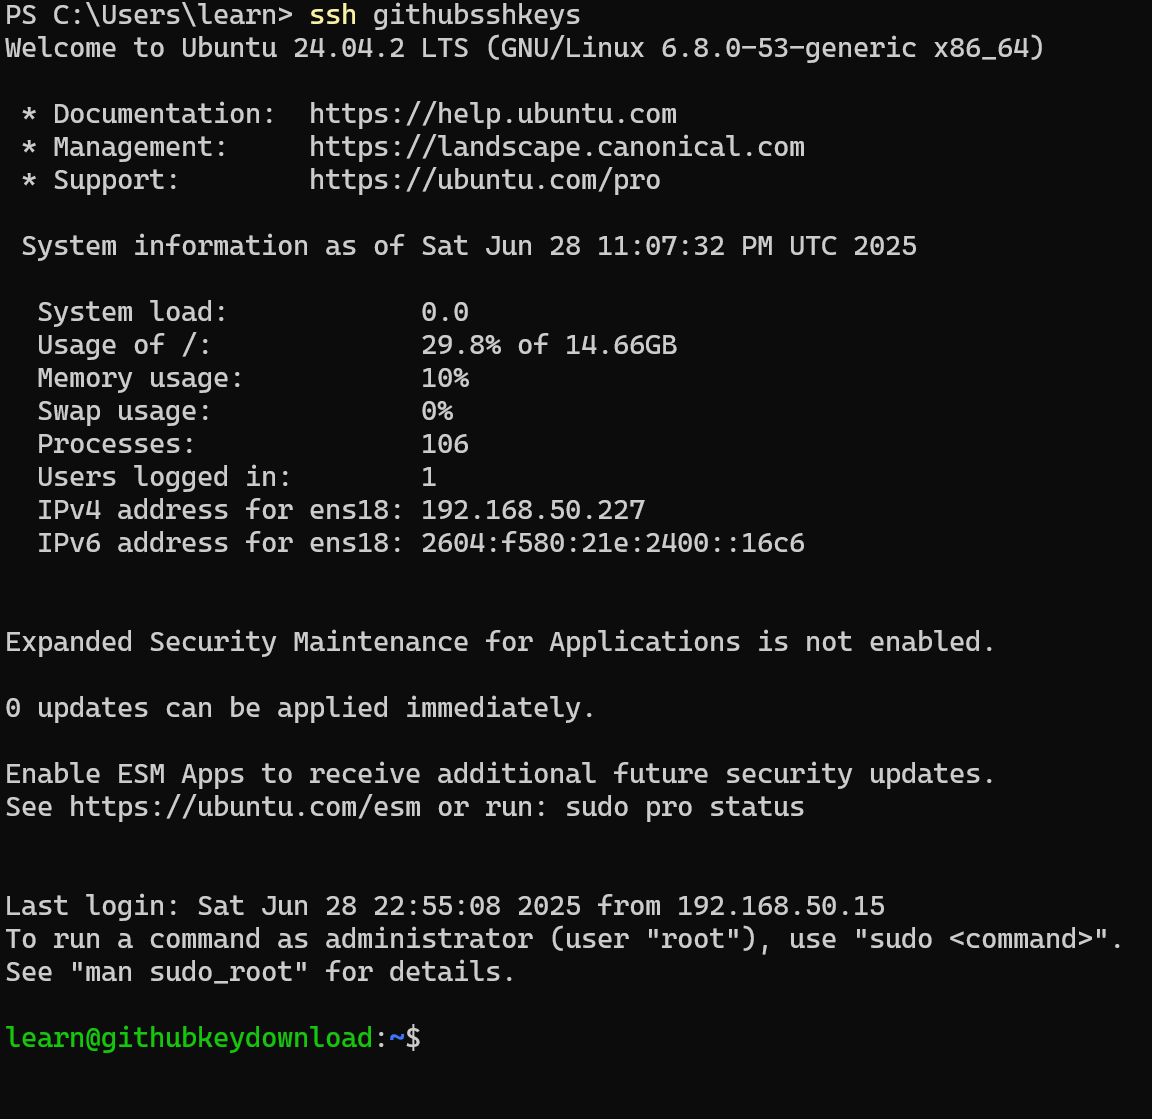
Logging in with the hostname
So now all we need to do is grab the hostname from that config file and log in! You no longer need to use passwords, usernames, at symbols, or anything else. Just the below command with the hostname you set earlier in the config file.
Example from our video: